The first time my overhead tank ran dry at 6 a.m. on a hot April morning, I learned more about home water storage in one panicked hour than in the previous five years of just trusting the tap. I’m Arjun Mehta, and I’ve spent 15-plus years running my own borewell, pump, and rooftop tank in a house that only gets municipal water three hours a day. This water storage tank guide is the resource I wish someone had handed me back then.
Below, I’ll walk you through how a home water storage system actually works, how to size your tanks, where to place them, what materials to buy, how the pipes tie everything together, and how to keep the water clean year after year. No jargon, no sales pitch, just what I’ve learned the hard way. If you want the beginner’s overview first, start with how home water storage works, then come back here for the full picture.
Key Takeaways
- Most homes work best with a two-tank system: a ground-level sump that fills whenever supply is on, and an overhead tank the pump lifts water into for gravity pressure.
- A practical sizing rule is 135-150 litres per person per day; a family of four often lands on roughly 1,000 L overhead plus 1,500-2,000 L of sump storage.
- Placement matters more than brand, an overhead tank 3-6 metres above your taps gives usable pressure without a pump.
- Clean and disinfect stored tanks at least twice a year; standing water and sunlight are what turn a good tank bad.
- Your pipe material and diameter decide your real-world flow, the tank is only half the system.
How a home water storage system works
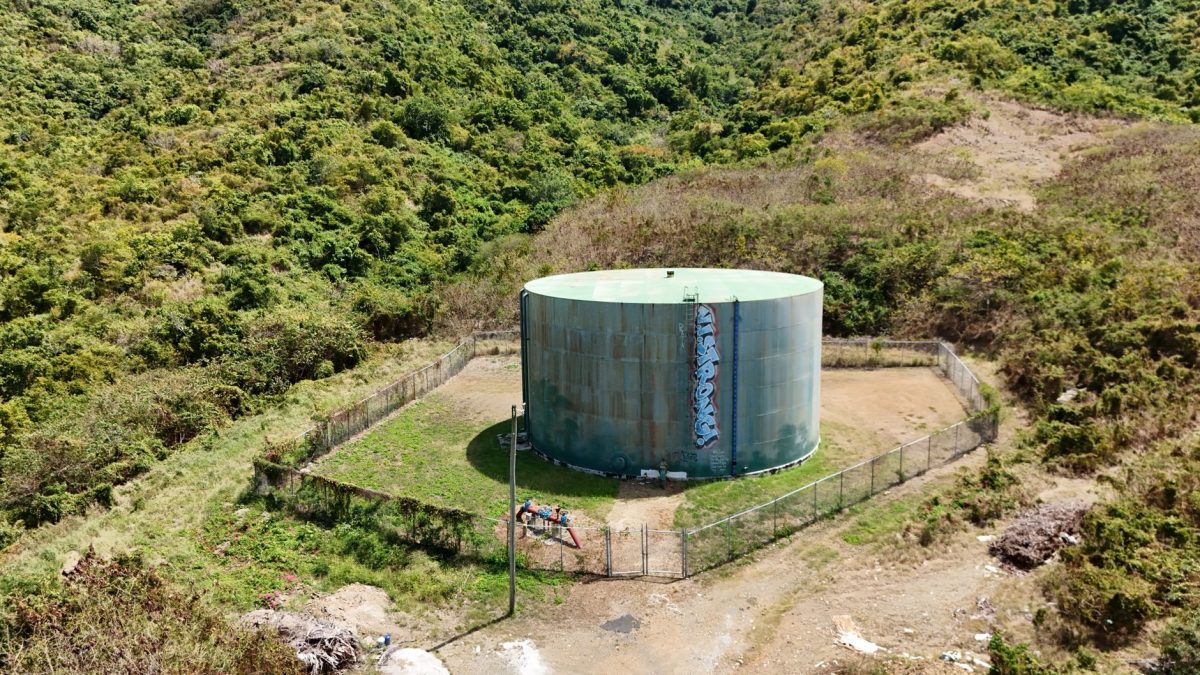
At its heart, a home water storage system solves one problem: your water source is unreliable or low-pressure, but your household needs water on demand. Storage bridges that gap. Whether your source is a municipal line that runs for a few hours, a borewell that draws from the ground, or a tanker delivery, the job is the same, capture water when it’s available, hold it, and deliver it with enough pressure when you open a tap.
The classic Indian setup, and the one I run, uses two tanks working together. Here’s the flow:
- Source to sump: Municipal water or borewell water fills an underground or ground-level sump (the “collection” tank). It fills passively whenever supply is on, so you never miss a delivery even if you’re asleep.
- Sump to overhead tank: A pump lifts water from the sump up to a tank on your roof or a raised stand.
- Overhead tank to taps: Gravity does the rest. The height of the overhead tank creates the pressure that pushes water through your pipes to every tap and shower.
This two-stage design is popular because it separates collection from delivery. The sump grabs water whenever it comes; the overhead tank gives you steady, pump-free pressure the rest of the day. If you have your own dual arrangement in mind, I documented my exact build in how I built a dual sump-plus-overhead tank setup.
Do you even need two tanks?
Not always. If your municipal pressure is strong and reliable, a single overhead tank filled directly from the line (no pump) can be enough. If you rely on a borewell, you almost always want the sump so the pump has a steady water column to draw from rather than pulling straight from a fluctuating line. Renters in apartments usually inherit a shared underground sump plus their own small overhead tank, you can’t change the building, but you can still size and maintain your own tank well.
What size water tank does a house need?
This is the question I get asked most, and the honest answer is: it depends on your people, your habits, and how long your supply gaps are. But you don’t have to guess. Start with a per-person daily figure and work up.
A widely used planning figure in India is around 135 litres per person per day for a home with full plumbing (this is the ballpark the CPHEEO manual uses for domestic supply). I plan closer to 150 L to leave headroom for guests and garden use. So a family of four needs roughly 540-600 litres of water per day, but your tank doesn’t have to hold a full day’s worth if your supply comes daily. Your overhead tank only needs to cover the stretch between fills, while your sump can hold a bigger buffer for cuts.
| Household size | Daily need (approx.) | Typical overhead tank | Sump buffer (for cuts) |
|---|---|---|---|
| 1-2 people | 270-300 L | 500 L | 500-1,000 L |
| 3-4 people | 540-600 L | 1,000 L | 1,500-2,000 L |
| 5-6 people | 810-900 L | 1,500-2,000 L | 2,000-3,000 L |
| Large / joint family (7+) | 1,000 L+ | 2,000 L+ | 3,000 L+ |
Two adjustments I always tell neighbours to make. First, if your area gets long summer supply cuts, oversize the sump, not the overhead tank, a heavy overhead tank stresses your roof and stand. Second, if you have a garden, add 100-200 L to your daily figure; landscaping quietly doubles some households’ use. For a deeper look at surviving dry spells, I wrote a whole piece on sizing water storage to survive summer supply cuts.
Tip from my roof: Don’t buy the biggest tank you can afford. An overfull, oversized overhead tank means water sits longer, warms in the sun, and can go stale before you use it. I’d rather have a right-sized overhead tank that turns over daily and a generous sump below. Fresh beats big.
Where should a water storage tank be placed?
Placement decides two things: how much pressure you get and how long your water stays clean. For an overhead water tank setup, height is everything. Every metre of height gives you roughly 0.1 bar of pressure. Taps and basic fixtures work fine from about 3 metres up; showers and instant geysers feel much better with 5-6 metres. That’s why tanks sit on rooftops or on raised stands, not on the ground.
- Overhead tank: Highest practical point, rooftop or a stand above the roofline. Keep it out of direct all-day sun if you can, or use an opaque tank; sunlight breeds algae.
- Sump / underground tank: At or below ground, close to your water inlet and pump. Keep it well away from septic tanks, soak pits, and drains, a minimum separation of several metres is the usual guidance to avoid contamination.
- Both: Away from overhanging trees (leaves and droppings) and never directly beside a boundary where runoff pools.
A quick reality check I learned the hard way: make sure whatever supports your overhead tank can carry the load. Water weighs about 1 kg per litre, so a full 1,000 L tank plus its own weight is well over a tonne sitting on your roof or stand. On my first setup I mounted a 1,500 L tank on a flimsy angle-iron stand and watched it lean within a season. A proper structural base is not the place to save money.
Choosing your tank: material and type
Once you know the size and place, the next decision is what the tank is made of. The three common choices are plastic (polyethylene), concrete, and steel, each with real trade-offs. I’ve owned or maintained all three over the years.
| Tank type | Strengths | Watch-outs | Best for |
|---|---|---|---|
| Poly (plastic) | Cheap, light, quick to install, won’t rust; triple-layer versions block light | Single-layer tanks can grow algae; UV wear over many years | Rooftop overhead tanks, most homes |
| Concrete (RCC) | Very durable, great for large underground sumps, keeps water cool | Can crack and leak over time; harder to clean; costly to build | Underground sumps, large storage |
| Stainless steel | Long life, hygienic surface, premium look | Highest upfront cost; poor grades can corrode | Buyers prioritising longevity and hygiene |
For most rooftop overhead tanks, a good triple-layered poly tank (with a black inner layer that blocks light) is the sweet spot of price, weight, and cleanliness. For a big underground sump, concrete still makes sense. If you’re weighing these head to head, read my detailed breakdown of poly vs concrete vs steel tanks, or see the full field in the best water tank types for your home, ranked. And if you’re still torn on placement, overhead vs underground water tank lays out which suits different homes.
Pipes and distribution: getting water to the taps
A perfect tank feeding thin, wrong-material pipes will still disappoint you. Good water distribution at home is about matching pipe size and material to the job. This is where a lot of DIY setups quietly lose pressure and flow.
The main lines
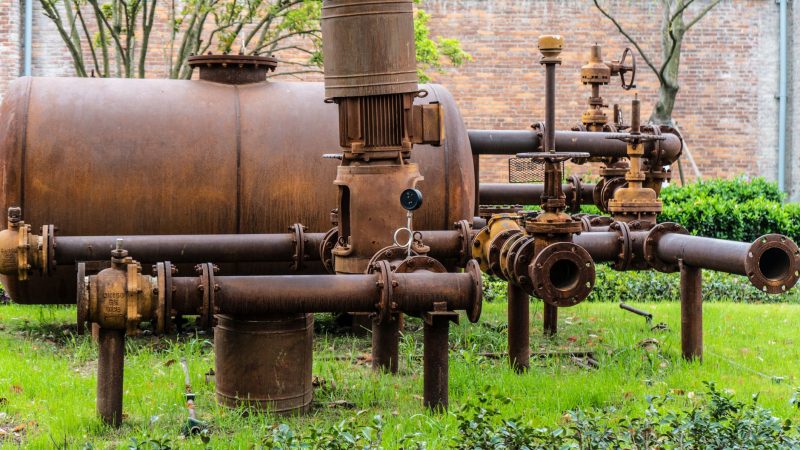
- Sump-to-pump and pump-to-tank: These carry the full pumped flow, don’t undersize them, or your pump works harder and slower.
- Overhead-tank-to-house main: A larger-diameter downpipe (often 25 mm / 1 inch) feeds the house so multiple taps can run at once without a pressure drop.
- Branch lines to fixtures: Smaller diameter (often 15 mm / half inch) to individual taps.
Material matters as much as size. CPVC handles hot water well and is common for indoor lines; PVC and UPVC suit cold-water and outdoor runs; older homes may still have galvanised iron, which corrodes and narrows over time. I’ve torn out enough scaled-up GI pipe to recommend moving to plastic lines when you re-plumb. For the full rundown, see the top pipe materials for home plumbing, compared.
Common distribution mistakes
The three I see most often: running long horizontal pipe runs that kill gravity pressure, mixing tank outputs so you can’t isolate one tank for cleaning, and skipping isolation valves entirely. Add a gate or ball valve at the tank outlet and at each major branch, the day you need to fix a leak or clean a tank, you’ll be grateful you can shut off just that section. I’ve collected the rest in common water tank mistakes and how to avoid them.
Keeping stored water clean and safe
Storing water safely is where most homes slip up. Water that’s perfectly fine at the source can pick up sediment, algae, and bacteria while it sits, especially in a warm, sun-lit tank with a loose lid. The good news: a simple routine prevents almost all of it.
A simple maintenance routine
- Keep it covered: A tight, opaque lid stops light, dust, leaves, insects, and lizards. This one fix prevents most algae.
- Inspect monthly: A 30-second look inside, is the water clear, is the lid sealed, are there any leaks or insects?
- Clean twice a year: Drain, scrub the walls and floor to remove sludge and biofilm, then rinse. My step-by-step is in how to clean a water storage tank safely at home.
- Disinfect after cleaning: A measured chlorine dose kills lingering bacteria. Follow the method in how to disinfect a water storage tank the right way, dose matters, so don’t eyeball it.
- Test if in doubt: If the water smells, tastes, or looks off, get it tested.
Safety note: Cleaning products and chlorine are helpful, but drinking-water safety is not something to guess at. If your stored water is meant for drinking or cooking and you have any doubt about contamination, get it checked by a certified lab and follow a qualified professional’s advice. Guidance from bodies like the World Health Organization is a good non-commercial starting point, and India’s Bureau of Indian Standards publishes the IS 10500 drinking-water benchmark.
Two myths I want to kill: a tank does not “self-clean,” and adding more chlorine is not always better, over-chlorinating leaves an unpleasant taste and doesn’t fix sludge you never scrubbed out. I sort the real from the folklore in water tank myths vs facts. To make the routine stick, I keep a printed checklist taped inside my utility cupboard, you can grab mine in the home water tank maintenance checklist.
What does a home water storage setup cost?
Costs vary a lot by region, brand, and how much you do yourself, so I’ll give ranges rather than false precision. In my experience across a few installs and neighbours’ projects:
- 1,000 L poly overhead tank: roughly ₹6,000, ₹12,000 depending on brand and layers.
- Tank stand (fabricated): roughly ₹5,000, ₹15,000 depending on height and steel.
- Water pump (0.5-1 HP domestic): roughly ₹4,000, ₹10,000.
- Underground sump (RCC, built on-site): highly variable, often ₹15,000, ₹40,000+ for a modest 2,000-3,000 L sump.
- Plumbing and fittings for a whole-house re-pipe: the wildcard, easily ₹20,000+ depending on home size.
Treat these as directional. Prices move with steel and plastic rates, and a good plumber’s labour varies by city. For a properly itemised breakdown, see water storage tank cost: what you’ll really pay. If you want to understand every part before you spend, the whole Storage Tanks & Distribution section walks through it piece by piece.
Explore the rest of this guide
This pillar is the map; the detailed guides are the terrain. Here’s where to go deeper on each topic:
- How home water storage works: a beginner’s primer
- Best water tank types for your home, ranked and reviewed
- Overhead vs underground water tank: which suits your home?
- Poly vs concrete vs steel tanks: which should you buy?
- Top pipe materials for home plumbing, compared and ranked
- How to clean a water storage tank safely at home
- How to disinfect a water storage tank the right way
- The home water tank maintenance checklist you can print
- Common water tank mistakes and how to avoid them
- Water tank myths vs facts: what actually keeps water clean
- How I built a dual sump-plus-overhead tank setup at home
- Sizing water storage to survive summer supply cuts
- Water storage tank cost: what you’ll really pay
- Water storage tank FAQ: your top questions answered
Frequently Asked Questions
How does a home water storage system work?
Water from your source, municipal line, borewell, or tanker, fills a ground-level or underground sump whenever supply is available. A pump then lifts that water into an overhead tank on your roof or a raised stand. Gravity from that height delivers pressurised water to every tap in the house.
What size water tank does a house need?
Plan around 135-150 litres per person per day. A family of four needs roughly 540-600 litres daily, which usually means about a 1,000 L overhead tank plus a larger sump buffer for supply cuts. Add extra capacity if you have a garden or face long, frequent water outages.
Where should a water storage tank be placed?
Put the overhead tank as high as practical, rooftop or a stand 3-6 metres above your taps, for gravity pressure. Place the sump at or below ground near your inlet and pump, but well away from septic tanks, soak pits, and drains to avoid contamination.
Do I really need both a sump and an overhead tank?
Not always. If municipal pressure is strong and reliable, a single overhead tank filled directly can work. But if you rely on a borewell or face supply cuts, a sump-plus-overhead pairing is far more dependable, the sump captures water whenever it comes, and the overhead tank gives steady pressure all day.
How often should I clean my water storage tank?
Clean and disinfect your tanks at least twice a year, and more often if water sits for long periods or you notice sediment, smell, or algae. Keeping the lid tight and opaque between cleanings prevents most contamination, since light and open lids are what let algae and insects in.
Which tank material is best for a rooftop overhead tank?
For most homes, a triple-layered poly (plastic) tank with a light-blocking inner layer is the best balance of price, low weight, and cleanliness. Concrete suits large underground sumps, and stainless steel offers the longest life at a premium price if hygiene and longevity are your top priorities.
The practical upshot
A reliable home water supply isn’t about buying the biggest tank or the priciest pump, it’s about matching a right-sized sump and overhead tank to your household, placing them well, piping them properly, and keeping them clean on a simple schedule. Get those four things right and you’ll rarely think about water again, which is exactly the goal. Fifteen years on, my morning-dry-tank panic is a distant memory.
Take it one decision at a time. Whenever you’re ready to go deeper on sizing, materials, cleaning, or cost, the full Storage Tanks & Distribution collection has a hands-on guide for each step, no pressure, just the details when you need them.