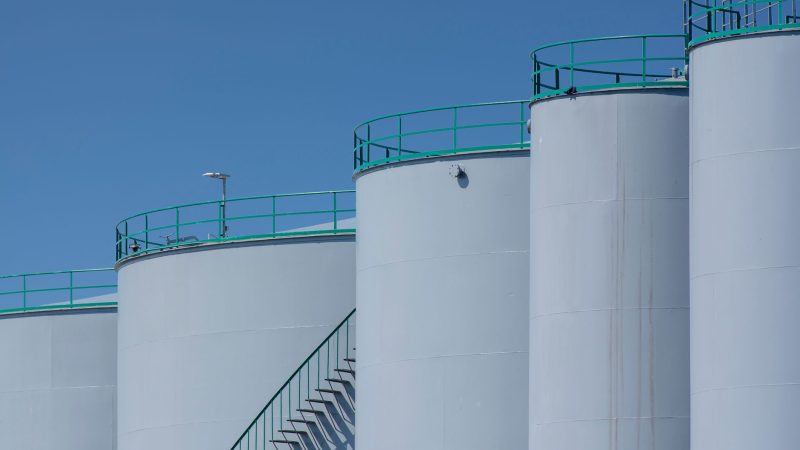
The summer my rooftop tank ran dry by 8 a.m. was the summer I stopped trusting a single tank. My borewell was fine, but the municipal supply came in weak, hard-to-predict pulses, and my one overhead tank simply couldn’t catch enough of it before the pressure died. That’s when I built my first real dual sump and overhead tank setup, a ground-level storage tank feeding a rooftop tank through a pump.
I’ve run borewells, pumps and tanks at my own home for 15+ years, and this two-tank change fixed more headaches than any gadget I’ve bought. In this post I’ll walk you through exactly how my sump-plus-overhead setup works, what it cost me, the mistakes I made, and whether I’d do it again.
Key Takeaways
- A dual setup stores incoming water low (a sump), then pumps it up to a rooftop tank so gravity feeds your taps, you capture weak or timed supply you’d otherwise lose.
- The sump does the heavy storing; the overhead tank does the delivering. Size the sump for a full day or two of use, often 1,000-3,000 litres for a family home.
- My real-world build landed around ₹35,000, ₹70,000 including a small transfer pump, plumbing and a float switch, depending on sump size and tank quality.
- The two things that make or break it: a reliable auto float switch (so the pump never runs dry) and a foot valve or non-return valve on the suction line.
- Water sitting in a sump needs a lid, a clean-out schedule, and periodic testing, a certified lab is the only way to be sure it’s safe to drink.
Why use both a sump and an overhead tank?
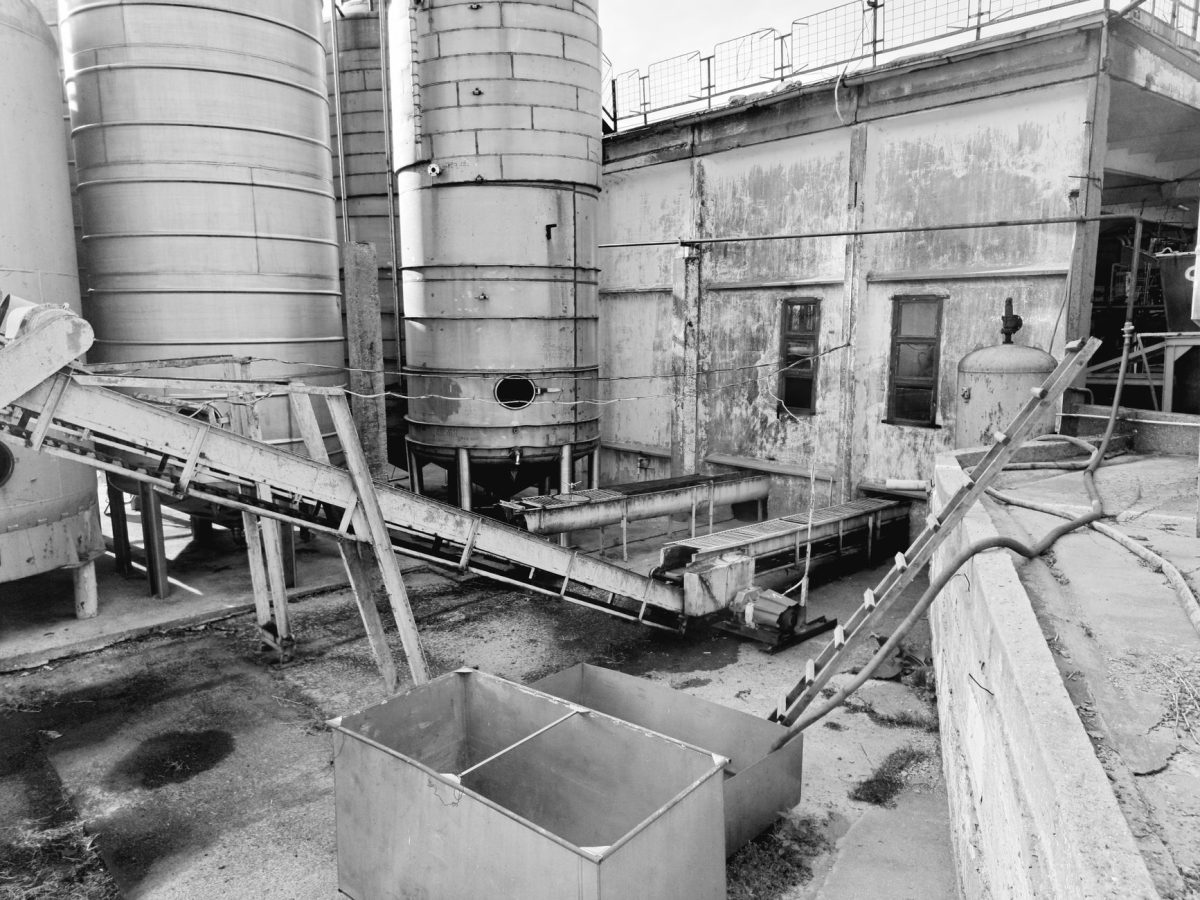
For years I ran the classic single-tank arrangement: borewell straight up to one rooftop tank, gravity down to the taps. It works, until your incoming water can’t keep that one tank full. My problem was timing. Municipal water arrived for a couple of hours at odd times, often at low pressure, and my pump couldn’t lift much of it before the mains gave out. Whatever I didn’t catch, I lost.
A ground-level sump changes the game because it stores water where it’s easy to fill. Low-pressure municipal supply, a slow borewell recovery, a tanker delivery, all of it drains happily into a sump sitting at or below ground. Then, on your schedule, a transfer pump lifts that water to the overhead tank, which does the one job it’s good at: delivering steady gravity pressure to your home.
If you’re still weighing where to put your main storage, my sibling piece on overhead versus underground water tanks breaks down the trade-offs before you commit concrete. The short version: a dual setup lets you stop choosing and use both, each for what it does best.
The core idea: store low, deliver high
Think of it as a two-stage relay. Stage one is capture, get water into the sump whenever it’s available, using gravity or a submersible pump. Stage two is delivery, move it up to the overhead tank in controlled batches so your bathrooms and kitchen get consistent flow. Separating capture from delivery is what makes the whole sump plus overhead setup so forgiving of unreliable supply.
How my two tank water system works, part by part
Here’s the actual flow at my house, from source to shower. If you’re new to any of this, the primer on how home water storage works is a gentler starting point; below is my specific two tank water system.
- Source: my borewell (via submersible pump) and the municipal line both feed the sump. The borewell to sump to overhead path is the backbone; municipal water tops it up.
- Sump: a 2,000-litre underground tank near the boundary wall. Everything collects here first.
- Transfer pump: a small monoblock pump sitting beside the sump, drawing from it and pushing water up.
- Overhead tank: a 1,000-litre food-grade tank on the roof, fed by the transfer pump.
- Distribution: gravity from the overhead tank to every tap, with a small pressure pump only on the upstairs bathroom that needed a boost.
The magic component is the automatic float switch in the overhead tank. When the rooftop level drops, it starts the transfer pump; when the tank fills, it cuts power. A second float, a low-level cut-off in the sump, stops the pump running dry if the sump empties. Those two switches turned a fiddly manual chore into something I barely think about now.
Tip from my own build: Fit a foot valve at the bottom of the suction pipe and a non-return valve near the pump. Without them, water drains back into the sump every time the pump stops, and the pump has to re-prime on each cycle. I skipped this on my first attempt and burned out a pump’s seals inside a year, a ₹200 valve would have saved a ₹4,000 repair.
What sizes to choose for the sump and overhead tank
People obsess over the rooftop tank and under-size the sump. It should be the other way round. The sump is your buffer against dry days and erratic supply, so it does the bulk storing. The overhead tank only needs to hold enough for steady delivery between pump cycles.
A rough rule I use: budget about 135-150 litres per person per day for a comfortable home, then size the sump for one to two full days of that. The overhead tank can be much smaller, often a third to half the sump, because the pump refills it several times a day.
| Household | Daily use (approx) | Suggested sump | Suggested overhead tank |
|---|---|---|---|
| 2 people | ~300 litres | 750-1,000 litres | 500 litres |
| 4 people | ~600 litres | 1,500-2,000 litres | 750-1,000 litres |
| 6 people | ~900 litres | 2,500-3,000 litres | 1,000-1,500 litres |
Don’t over-build the overhead tank. Every extra litre up there is dead load on your roof slab and pipes, and it just sits stale longer. I’d rather have a generous sump and a modest, fast-cycling rooftop tank. For a full breakdown of what tanks and installation actually cost, my sibling guide on what you’ll really pay for water storage is worth a read before you buy.
How I built it: the step-by-step
If you’re planning your own borewell to sump to overhead build, here’s the order I’d follow. Some of this is a mason-and-plumber job, but knowing the sequence keeps them honest and keeps you from paying twice.
- Place and build the sump. Pick a spot away from sewage lines and septic tanks. A waterproofed concrete sump or a good UV-stabilised poly sump both work; concrete lasts longest but costs more.
- Route the inlets. Bring the borewell line and municipal line into the sump top, each with its own valve so you can isolate either source.
- Install the transfer pump. Mount it as close to the sump as possible and no higher than it needs to be, long or high suction runs make priming a nightmare.
- Fit the suction line with a foot valve. This keeps the pipe primed. Add a non-return valve near the pump outlet too.
- Run the delivery pipe to the roof. Use the right diameter (usually 25 mm / 1 inch for a home) so you don’t choke the flow.
- Add the overhead tank and its float switch. The auto float is what makes the system hands-off, don’t treat it as optional.
- Wire in a dry-run cut-off. A low-level float or a dry-run sensor in the sump protects the pump when water runs out.
- Test and label everything. Run a full fill cycle, watch for leaks, and label each valve. Six months later you’ll thank yourself.
Safety note: A ground sump can pick up contamination from surrounding soil, back-siphonage, or a cracked wall far more easily than a sealed rooftop tank. Keep it lidded, keep the inlet above any possible flood level, and get the water tested at a certified lab before you drink from it. Don’t take an internet checklist, including mine, as a guarantee that your water is safe.
What it cost me, and the mistakes I’d skip

My build came together over a couple of weekends. Ballpark, an underground poly sump plus a rooftop tank, a small transfer pump, a float switch, valves and plumbing landed me somewhere around ₹35,000, ₹70,000. A cast concrete sump pushes the top end higher; a modest poly-on-poly setup can come in under that. Prices vary a lot by city, tank brand and how much civil work you need.
The mistakes were the expensive part of my education. I under-sized my first sump and still ran short on peak days. I skipped the non-return valve and cooked a pump. And I mounted my first float switch where I couldn’t reach it, so cleaning it meant a ladder and bad language. Fix those three things up front and the setup basically runs itself.
Is a dual tank setup worth it?
For me, unambiguously yes. I stopped losing municipal water to bad timing, I stopped babysitting the pump, and my taps have had steady pressure for years since. If your supply is reliable and generous, a single tank may be all you need. But if you’ve ever watched water arrive when your one tank was already full, or run dry when it wasn’t, the second tank pays for itself in peace of mind.
For the bigger picture on sizing, materials, placement and maintenance across every kind of tank, see our complete home guide to water storage tanks and distribution. It ties together everything a dual setup touches. You can also browse more in the Storage Tanks & Distribution section.
Frequently Asked Questions
Why use both a sump and an overhead tank?
Because they do different jobs. The ground sump captures water whenever it’s available, even weak or timed municipal supply, while the overhead tank delivers steady gravity pressure to your taps. A pump moves water between them, so you stop losing supply you can’t catch with a single tank.
How does a two-tank water system work?
Water first collects in a low or underground sump from your borewell, mains or a tanker. A transfer pump, usually triggered by an automatic float switch, lifts it to the rooftop tank. From there, gravity feeds every tap. It’s a two-stage relay: store low, then deliver high.
Is a dual tank setup worth it?
If your water supply is erratic, low-pressure or timed, yes, it captures water you’d otherwise waste and gives constant tap pressure. If your supply is reliable and plentiful, a single overhead tank may be enough. The extra cost buys resilience against dry days and bad delivery timing.
How big should the sump be compared to the overhead tank?
Make the sump the larger of the two, it’s your main buffer. A common approach is sizing the sump for one to two days of use and the overhead tank for a third to half of that, since the pump refills it several times daily. For a family of four, roughly 1,500-2,000 litres of sump.
Do I need two separate pumps?
Often just one transfer pump moves water from sump to overhead tank. You may already have a submersible pump filling the sump from a borewell, and some homes add a small booster pump on one bathroom. But the sump-to-roof transfer pump is the essential one in this setup.
How often should I clean a water sump?
Most homes clean and disinfect the sump every 6 to 12 months, sooner if you notice sediment, odour or cloudy water. Because a ground sump can pick up contamination, pair cleaning with periodic testing at a certified lab, especially if anyone drinks the stored water directly.
The practical upshot
A dual sump-plus-overhead setup isn’t fancy, it’s just a smarter division of labour. Store water low where it’s easy to capture, deliver it high where gravity does the work, and let a float switch handle the middle. It solved the outage headaches a single tank never could, and after years of trouble-free running I’d build it the same way again, only with the valves and dry-run cut-off right from day one.
If you’re mapping out your own system, start with our complete guide to water storage tanks and distribution to get the sizing, materials and maintenance right, then come back and build with confidence. For anything touching drinking-water safety, always confirm with a certified lab. You can read more about our approach on the editorial policy page, and for broader water-quality standards, the World Health Organization and India’s Central Ground Water Board are solid, non-commercial references.