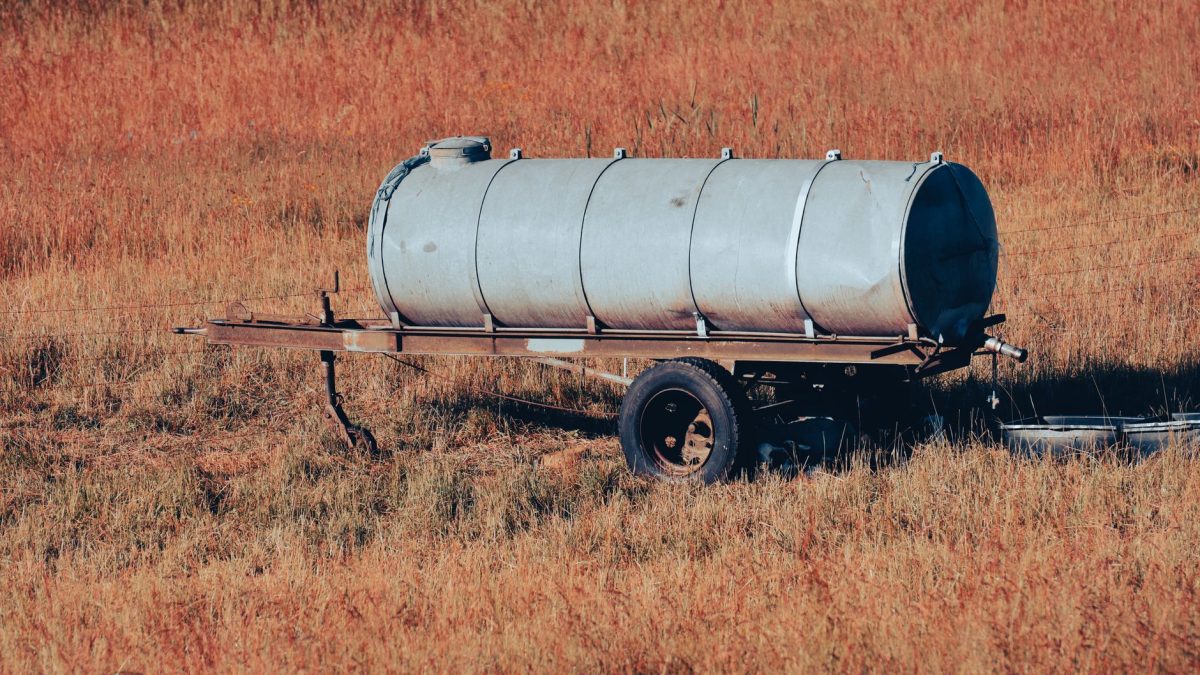
A dark, spreading damp patch under the storage tank is the kind of thing you notice on a busy morning and then try to forget by afternoon. I learned the hard way that a slow drip never stays small: on my own overhead setup, a pinhole leak at the outlet quietly softened the soil under the tank stand until one leg started to tilt. The good news is that most tank leaks are fixable at home in an hour or two, once you know what your tank is made of and where the water is actually escaping.
In this guide I will walk you through how to fix a leaking water tank step by step, from hairline cracks in poly tanks to weeping concrete and dripping outlet fittings. If you are new to how these systems hang together, our beginner primer on how home water storage works is a useful companion read.
Key Takeaways
- Find the true source first: crack, seam, or fitting. Most tank leaks are at the outlet, not the body.
- Every repair depends on the material. Poly, concrete, and metal each need a different sealant and prep.
- A clean, bone-dry, roughened surface matters more than the product you use. Skip prep and the patch will fail.
- Budget roughly 30 minutes to 2 hours of hands-on work, plus 24-48 hours of full cure time before refilling.
- Some cracks are a warning sign of a failing tank. Know when a patch is a stopgap versus a real fix.
First, find where the water is really escaping
Water travels before it drips, so the wet spot on the ground is rarely directly below the leak. Wipe the whole tank dry with a rag, then watch closely for a minute or two to see where the first fresh bead appears. In my experience, seven out of ten so-called tank leaks are actually at a fitting, not the tank wall.
Check these usual suspects in order:
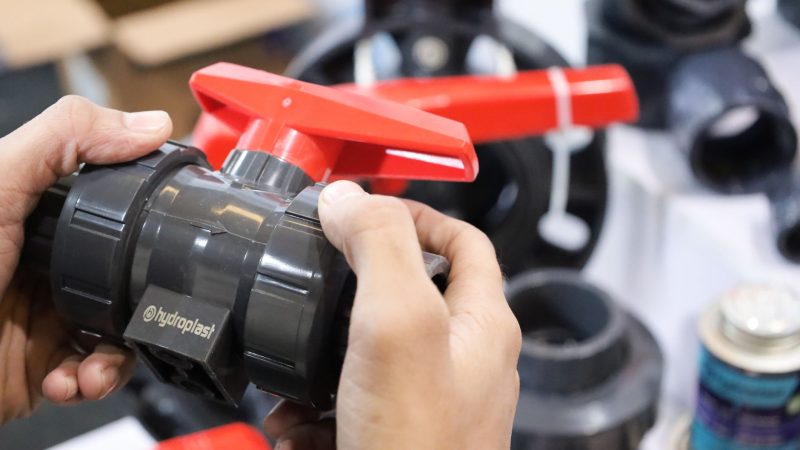
- The outlet and inlet threads where pipes screw into the tank. Loose or under-taped threads are the number one culprit.
- The seam or moulding line on a poly tank, especially near the base where water pressure is highest.
- Hairline cracks from UV damage, freeze stress, or a knock during installation.
- Concrete pores and construction joints that weep rather than drip.
A simple trick: fill the tank about a quarter full and mark the water line. If the level drops overnight but the ground stays dry, you likely have evaporation or a very slow seep, not a structural leak.
Match the repair to your tank material
The single biggest mistake I see is grabbing whatever sealant is in the shed and hoping it sticks. Poly, concrete, and metal behave very differently, and a product that grips one will peel off another. Here is how the common options compare.
| Tank type | Best repair method | Typical product | Rough cost (India) |
|---|---|---|---|
| Poly / plastic (small crack) | Plastic epoxy putty or fibreglass patch | Two-part epoxy stick, marine epoxy | ₹150-₹500 |
| Poly / plastic (larger split) | Plastic welding or replacement | Plastic welder, heat rod | ₹800-₹2,500 |
| Concrete / masonry | Cementitious waterproof coating | Crystalline slurry, hydraulic cement | ₹400-₹1,200 |
| GI / steel | Rust removal plus metal epoxy or weld | Metal-filled epoxy, cold-weld | ₹300-₹1,500 |
| Outlet / fitting leak | Re-tape or reseat the fitting | PTFE tape, thread sealant | ₹40-₹200 |
Prices are ballpark figures from local hardware shops and vary by region and brand. When you are buying sealant, read the label for one phrase: safe for potable (drinking) water. Many general-purpose epoxies are not food-grade, and you do not want to contaminate your supply to save fifty rupees.
How to fix a hairline crack in a poly tank
Poly tank hairline cracks are the most common repair, and also the most satisfying when done right. This is the sequence I follow every time.
- Drain below the crack. Let the water level fall at least 10-15 cm under the damaged area so you are working on a dry wall.
- Clean thoroughly. Scrub the spot with soap and water, rinse, and let it dry completely. Any grease or algae will ruin adhesion.
- Roughen the surface. Sand a palm-sized area around the crack with coarse sandpaper until it looks dull, not shiny. Plastic epoxy needs a keyed surface to grip.
- Stop-drill the ends (optional). For a longer crack, drilling a tiny 3 mm hole at each end stops it from spreading further under pressure.
- Apply the epoxy. Knead the two-part putty until the colour is uniform, press it firmly over and into the crack, and feather the edges. Cover about 2 cm beyond the crack on all sides.
- Cure fully. Wait the full time on the pack, usually 24 hours, before refilling. Refilling early is the top reason patches fail.
Tip: On a curved poly wall I lay a strip of fibreglass mesh into the wet epoxy for cracks longer than a few centimetres. It spreads the load so the patch flexes with the tank instead of cracking off the first hot afternoon.
Sealing concrete and metal tanks
Concrete tanks
Concrete rarely cracks cleanly; it weeps through pores and joints. Chase out the crack into a small V-groove with a chisel, brush away all dust, and dampen the surface. Pack hydraulic cement into active leaks (it sets even against running water), then coat the whole inner wall with a crystalline waterproof slurry that grows into the concrete over time.
Steel and GI tanks

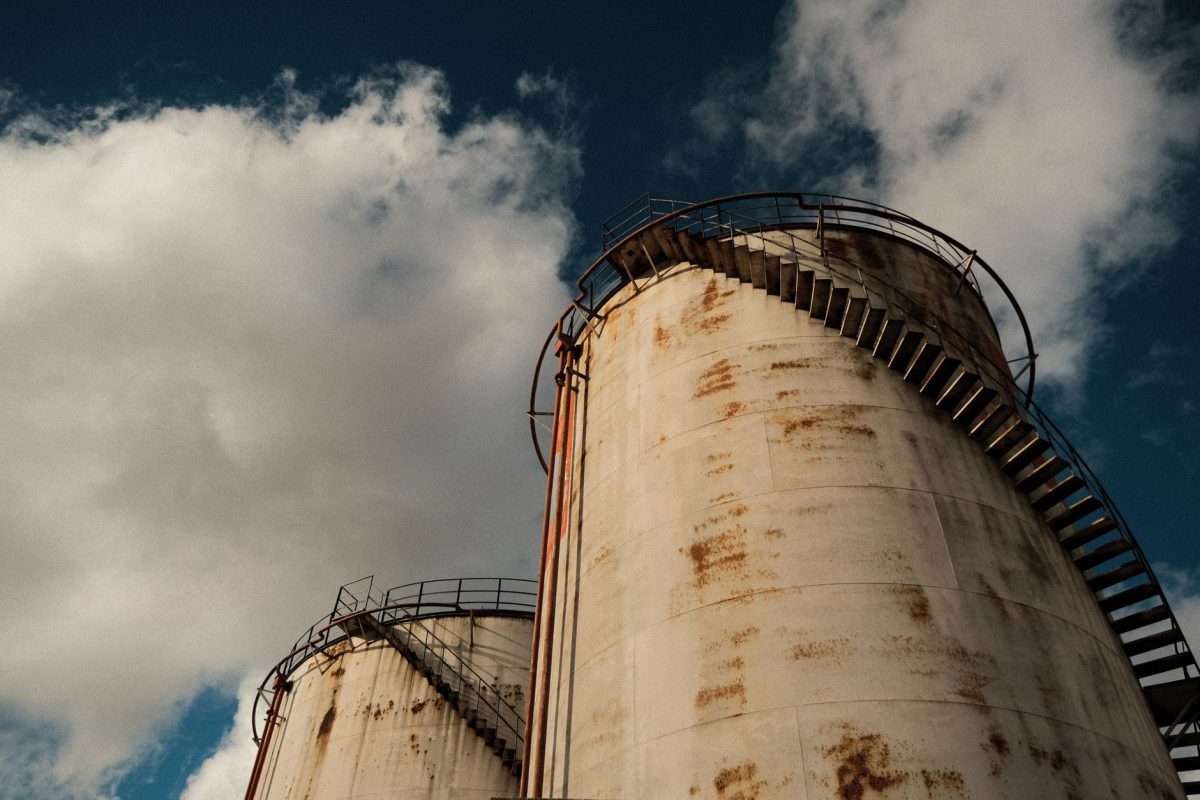
With metal, rust is the real enemy. Wire-brush the area back to bright metal, wipe it clean, and apply a metal-filled epoxy or have a small hole cold-welded. If the wall flexes or you see rust bubbling across a wide area, the tank is near the end of its life and a patch will only buy you a season or two.
Fixing the most common leak: the outlet
A tank outlet leak fix is usually the quickest win of all. Shut the supply, drain below the outlet, and unscrew the fitting. Clean the old tape off the threads, wrap fresh PTFE tape 5-7 times in the direction the fitting tightens, add a smear of thread sealant, and hand-tighten plus a firm quarter turn. Overtightening cracks the tank boss, so resist the urge to crank it.
If the leak is at the tank connector’s rubber washers, replace them rather than reusing hardened old ones. A ₹30 washer set has saved me a full connector replacement more than once.
When to repair and when to replace
A patch is the right call for isolated cracks, fitting leaks, and small pinholes on an otherwise sound tank. Replacement makes more sense when you see spreading crazing across a sun-baked poly tank, widespread rust on steel, or a concrete tank that keeps developing new leaks after each repair. Since a leak can let contaminants in as well as water out, it is worth cleaning and disinfecting after any repair. Our guides on cleaning a water storage tank safely and disinfecting a tank the right way cover that end to end.
If your tank stores drinking water, confirm any repair product is certified for potable use, and if you are ever unsure about water safety after a leak, get a sample checked by a certified lab. Standards bodies like the Bureau of Indian Standards and groundwater guidance from the Central Ground Water Board are good, non-commercial starting points.
Frequently Asked Questions
Can you repair a cracked plastic water tank?
Yes, most hairline and small cracks in poly tanks repair well with a two-part plastic epoxy, provided you sand the surface, keep it bone dry, and let it cure fully. For long splits, plastic welding or a fibreglass patch is sturdier. Widespread crazing usually means the tank should be replaced instead.
What sealant works best on water tanks?
It depends on the material. Use potable-safe plastic epoxy for poly tanks, metal-filled epoxy or cold-weld for steel, and crystalline or hydraulic cement for concrete. For threaded outlets, PTFE tape with thread sealant works well. Always check the label says it is safe for drinking-water contact.
Why is my tank leaking at the outlet?
Outlet leaks usually come from worn PTFE tape, a hardened rubber washer, or a fitting that has loosened over time. Occasionally the threaded boss is overtightened and cracked. Re-taping the threads or swapping the washer fixes the vast majority of these leaks in under 20 minutes.
How long should a tank repair cure before refilling?
Give epoxy and cement repairs the full time on the pack, which is typically 24 hours and up to 48 hours in cold or humid weather. Refilling too soon is the single most common reason a patch peels or weeps again, so it pays to be patient here.
Where that leaves you
A leaking tank feels alarming, but the fix is usually simpler and cheaper than the puddle suggests. Identify the true source, match the sealant to your tank material, prep the surface properly, and give the repair time to cure. Do those four things and most leaks stay fixed for years. When you want the bigger picture on tanks, plumbing, and pressure, our complete guide to storage tanks and distribution is the natural next stop.