The most expensive water mistake I ever made was buying a shiny five-stage purifier before I knew what was actually wrong with my water. It stripped my borewell supply of taste, wasted litres down the drain, and did nothing about the sediment that kept clogging my pump. I’m Arjun Mehta, and after 15+ years running my own borewell, pressure pump and overhead-tank setup, I’ve learned that choosing a home water treatment system starts with your water, not the showroom. This guide walks you through matching a real problem to the right fix, so you spend once and spend right.
By the end you’ll know how to read a water test, tell filters from softeners from RO and UV, compare rough costs, and build a setup that fits your actual supply, whether that’s municipal, well, or tanker.
Key Takeaways
- Test before you buy. A ₹500, ₹2,500 lab test tells you exactly what to treat and saves you from buying the wrong machine.
- No single device does everything. Sediment filters, softeners, RO and UV each solve a different problem, so most homes need a small stack, not one gadget.
- Match the scale to the need: whole-house units treat every tap, point-of-use units treat only drinking water. You rarely need RO on your shower.
- A realistic full home setup ranges from roughly ₹6,000 to ₹60,000+, plus ₹2,000, ₹8,000 a year in filters, salt and service.
- For any health-related result (bacteria, nitrate, arsenic, fluoride), confirm with a certified lab and treat it as a safety decision, not a shopping one.
Start with your water, not the product
Every good treatment decision begins the same way: you find out what’s in your water. The salesperson at the appliance store cannot know whether your borewell carries hardness, iron, or bacteria, and neither can a YouTube review. Two homes on the same street can have very different water.
On my own borewell, my first “problem” looked like taste, but the lab report showed high hardness (over 400 mg/L as CaCO₃) and a bit of iron. A purifier would never have fixed the scale killing my geyser. That single ₹1,200 test redirected my whole plan.
Get a proper water test first
Home strip kits are fine for a quick hardness or pH hint, but for anything you’ll spend real money on, send a sample to a certified lab. In India, look for an NABL-accredited lab; ask your local water utility or agricultural office if you’re unsure. A basic potability panel usually costs ₹500, ₹1,500, and a fuller scan (heavy metals, nitrate, fluoride) runs ₹1,500, ₹2,500.
Ask the lab to report these at minimum:
- Total dissolved solids (TDS) and hardness, the taste and scale story.
- pH, acidic water corrodes pipes; alkaline water scales them.
- Iron and manganese, the source of orange and black stains.
- Bacteria (total coliform / E. coli), the safety red flag, especially for wells and after monsoon.
- Nitrate, fluoride, arsenic, health concerns common in some Indian groundwater belts.
The World Health Organization publishes plain drinking-water guideline values worth skimming so you can read your report with context. See the World Health Organization and, for private-well specifics, the US EPA private wells resource. For a full walk-through of test panels and how to read them, our home water treatment FAQ answers the questions most owners ask.
Tip from my setup: Test after the monsoon, not just before. My coliform count spiked two weeks into the rains one year when surface runoff got into the borewell. If I’d tested only in April, I’d have missed the very problem that mattered most.
Know the four jobs treatment does
Almost every device on the market does one of four jobs. Once you see it this way, “which is best?” becomes “which job do I need done?” A good water filtration system for home use is really a small team of specialists, each handling its own task.
1. Filter out physical dirt (sediment and carbon)
Sediment filters catch sand, silt and rust so they never reach your pump, geyser or appliances. Carbon filters take out chlorine, odours and many organic tastes. These are the cheapest, hardest-working parts of any setup, and for well water they usually come first in line. If you want to fit one yourself, see our step-by-step guide to installing a whole-house sediment filter.
2. Soften hard water (ion exchange)
Softeners swap calcium and magnesium (the minerals that scale your kettle and stiffen your laundry) for sodium. They fix white scale, dull skin and short appliance life, but they do not make water safe to drink or remove bacteria. If your test shows hardness above roughly 200 mg/L, a softener earns its keep fast.
3. Remove dissolved chemicals (reverse osmosis)
RO pushes water through a fine membrane that strips dissolved salts, high TDS, nitrate, fluoride, arsenic and heavy metals. It’s the go-to for high-TDS or chemically contaminated drinking water, but it wastes some water and removes good minerals too. We break down exactly how it works in reverse osmosis explained simply.
4. Kill microbes (UV and disinfection)
UV lamps disable bacteria, viruses and cysts without chemicals or changing taste, as long as the water is already clear. For wells that test positive for coliform, UV or periodic shock chlorination is the safety layer. If your well tests unsafe, read how to shock chlorinate and disinfect your well safely before anything else.
Types of water treatment compared
Here’s how the main types of water treatment stack up so you can see, at a glance, what each one actually fixes and roughly what it costs. Prices are broad Indian ranges for typical home units and will vary by brand, capacity and installation.
| System | Fixes | Doesn’t fix | Rough cost (device) | Best for |
|---|---|---|---|---|
| Sediment filter | Sand, silt, rust, cloudiness | Hardness, chemicals, germs | ₹800, ₹5,000 | Well/borewell homes, protecting pumps |
| Activated carbon | Chlorine, odour, bad taste | Hardness, TDS, bacteria | ₹1,000, ₹6,000 | Municipal supply, taste issues |
| Water softener | Scale, hard water, dull laundry | Safety, chemicals, germs | ₹8,000, ₹40,000 | Hard water above ~200 mg/L |
| Reverse osmosis (RO) | High TDS, nitrate, fluoride, arsenic | Sediment (needs pre-filter) | ₹8,000, ₹25,000 | High-TDS or chemically unsafe drinking water |
| UV purifier | Bacteria, viruses, cysts | TDS, hardness, sediment | ₹3,000, ₹12,000 | Microbially unsafe but clear water |
Notice that most rows have a “doesn’t fix” column with real gaps. That’s why water softener vs RO is the wrong question for many homes: they solve different problems, and plenty of hard-water households with high TDS genuinely need both.
Do I need a filter, a softener, or both?
This is the question I hear most, and the honest answer is: it depends on what your test showed. Use this quick logic against your report.
- Visible dirt or well water? Start with a sediment filter, always.
- Hardness above ~200 mg/L, scaling appliances? Add a softener.
- High TDS or unpleasant taste for drinking? Add point-of-use RO at the kitchen tap.
- Bacteria positive? Add UV (or chlorinate the well) before you drink it.
- Chlorine smell from municipal supply? A carbon filter is usually enough.
Many homes end up with a layered answer: sediment plus softener for the whole house, then RO plus UV at the kitchen. That’s not overkill; it’s each device doing exactly one job well. To decide how wide to go, our comparison of whole-house vs point-of-use filters maps scale to need.
Whole-house or point-of-use?
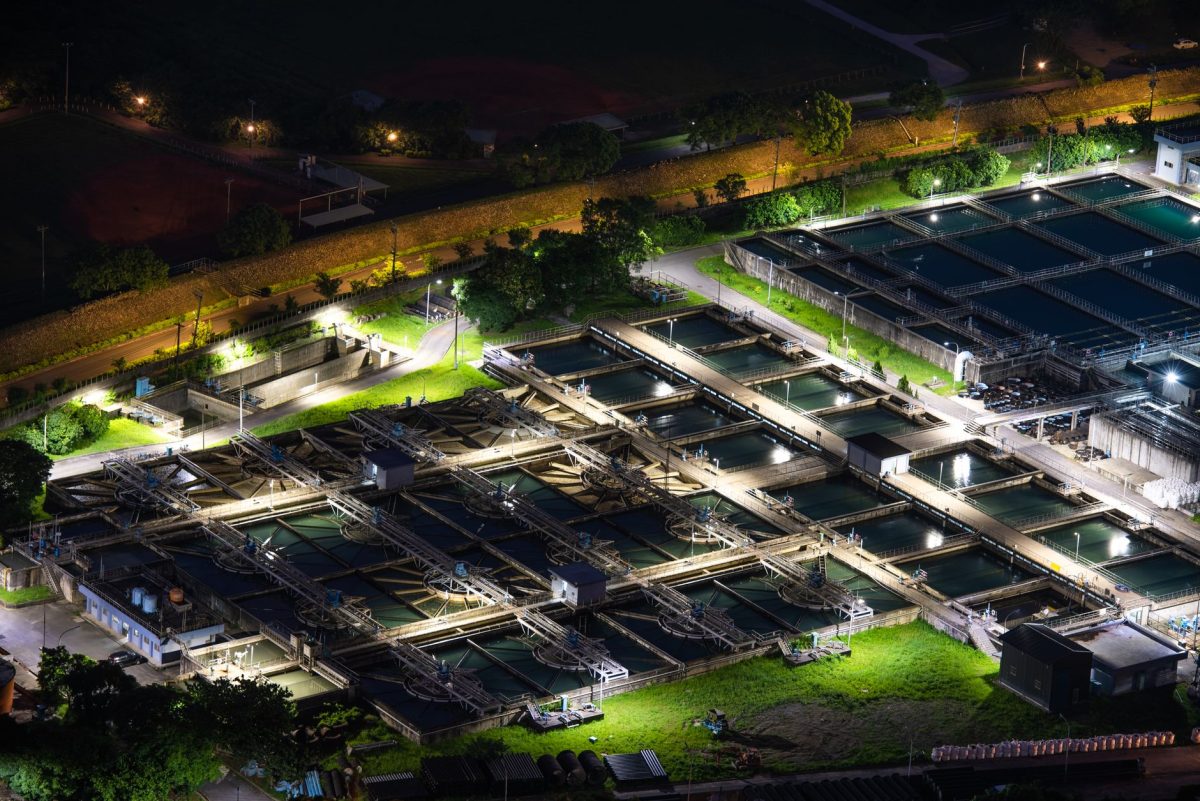
Where you place treatment matters as much as which type you pick.
- Whole-house (point-of-entry): installed where water enters the home, so every tap, shower and appliance benefits. Best for sediment, hardness and iron, problems that affect plumbing and bathing, not just drinking.
- Point-of-use: a small unit at one tap, usually the kitchen. Best for RO and UV drinking water, where treating only what you drink saves cost and water.
Putting RO on your whole house is a classic overspend: you’d waste water softening bathwater you never drink. Reserve the expensive, water-hungry treatment for the tap that matters. If you want a shortlist of dependable point-of-entry units, see the best whole-house water filters for well and borewell homes, and for drinking water our roundup of top under-sink RO systems.
A step-by-step way to choose
Here’s the exact sequence I now follow when someone asks me to spec their setup. It works whether you’re on municipal supply, a borewell, or tanker deliveries.
- Test your water at a certified lab and get a written report.
- List the real problems the report shows, in order of severity (safety first, then scale, then taste).
- Match each problem to one job from the four above, filter, soften, remove dissolved solids, or disinfect.
- Decide the placement for each: whole-house for plumbing-wide issues, point-of-use for drinking.
- Size the system to your household’s daily litres and peak flow so it never starves your taps.
- Set a running-cost budget for filter cartridges, softener salt, membranes and annual service, not just the sticker price.
- Buy in the right order: sediment first, then softener/RO/UV as your test dictates.
- Re-test after 2-4 weeks to confirm the setup actually fixed what you targeted.
If you’d rather work from a printable version, our home water treatment buying checklist turns these steps into a template you can carry to the dealer.
Safety first: If your test shows bacteria, nitrate, arsenic or fluoride above safe limits, treat it as a health decision, not a shopping one. Confirm the result with a certified lab and, where a health contaminant is involved, get advice from a qualified water professional before you rely on any single device. This guide is general and not a substitute for that.
What a real setup costs
People fixate on the device price and forget the running cost, which is where the money quietly goes. In my experience, a modest whole-house sediment plus a kitchen RO+UV runs roughly ₹15,000, ₹30,000 up front, then ₹3,000, ₹6,000 a year in cartridges and service. Add a softener and you’re closer to ₹35,000, ₹55,000 installed.
- Filter cartridges: ₹150, ₹800 each, changed every 2-6 months depending on water.
- Softener salt: ₹500, ₹2,000 a year for a typical home.
- RO membrane: ₹1,500, ₹4,000 every 2-3 years.
- UV lamp: ₹800, ₹2,000 yearly (they lose strength long before they stop glowing).
For a full breakdown, including payback against buying bottled or canned water, see what a home water treatment system really costs and pays back. Skipping maintenance is the most expensive habit of all, which is why it tops our list of common water filter and treatment mistakes.
Special cases: wells, monsoon and myths
Which system is best for well water?
There’s no single “best for well water,” because wells vary so much, but the usual reliable stack is: sediment filter first, then a softener or iron filter if your test needs it, then UV (and RO at the kitchen if TDS is high). Wells are more prone to bacteria and seasonal change, so testing matters even more here. I share my own real result in fitting a UV purifier to my borewell.
Monsoon changes everything
Rain raises turbidity and can push surface bacteria into shallow borewells. If you’re on a well, plan for extra sediment capacity and a working UV or chlorination routine before the rains, not during. Our monsoon water treatment tips cover the seasonal checklist I run every June.
Don’t buy on myths
“Low TDS always means better water” and “one purifier removes everything” are two myths that sell a lot of unnecessary machines. Very low TDS can taste flat and strips useful minerals; no single unit covers sediment, hardness, chemicals and germs. We sort claims from reality in water filter myths vs facts.
Frequently Asked Questions
Which water treatment system is best for well water?
It depends on your test, but a common reliable order is sediment filter, then softener or iron filter if needed, then UV, plus kitchen RO if TDS is high. Wells change with the seasons and are prone to bacteria, so test at least twice a year and treat safety results seriously.
Do I need a filter, a softener, or both?
A filter removes dirt and taste; a softener removes hardness. If your water is dirty, get a filter; if it’s hard and scaling appliances, get a softener. Many homes with hard, high-TDS water genuinely need both, plus RO for drinking. Your lab report is the honest tie-breaker here.
How much does a home water treatment setup cost?
A basic sediment-plus-kitchen-RO setup runs roughly ₹15,000, ₹30,000 up front, while adding a softener pushes it toward ₹35,000, ₹55,000 installed. Budget another ₹3,000, ₹8,000 a year for cartridges, salt, membranes and service. Costs vary widely by brand, capacity and how hard your water is.
Is RO water safe if it removes minerals?
RO removes some beneficial minerals along with contaminants, which is why very low TDS can taste flat. Many RO units add a mineraliser stage to put a little back. If your source water is genuinely high in TDS, nitrate or arsenic, the trade-off is usually worth it. A balanced diet also supplies these minerals.
How often should I change filters and lamps?
Sediment and carbon cartridges typically last 2-6 months on well water, RO membranes 2-3 years, and UV lamps about a year (they weaken long before they stop glowing). Water quality and usage change these numbers, so watch flow and taste, and follow the maker’s schedule as a floor, not a ceiling.
Can one purifier do everything?
No single device covers sediment, hardness, dissolved chemicals and microbes all at once. Multi-stage units combine a few jobs, but you still match stages to your test. Beware marketing that promises “complete purification” without asking what’s in your water, that’s a shopping red flag, not a solution.
The practical upshot
Choosing a home water treatment system isn’t about finding the “best” machine, it’s about knowing your water and matching each real problem to the one job that fixes it. Test first, treat safety before taste, place whole-house units where plumbing needs them and point-of-use where you drink, and always budget for the running costs. Do that and you’ll build a setup that quietly works for years instead of a drawer full of regret.
When you’re ready to go deeper on any piece, browse the full Filtration & Treatment library, every guide linked above builds on the plan you’ve just made. Your water, your call, made with real information.