The first time a lab report came back “coliform present” on my own borewell, my stomach dropped. It felt like the water I’d been drinking for years had betrayed me. But after 15 years of managing my own borewell, pump and overhead-tank setup, I’ve learned that a positive bacteria test is rarely a disaster, it’s usually a job. And that job is called shock chlorination.
Knowing how to chlorinate a well the right way is one of the most useful skills a private-water household can have. In this guide I’ll walk you through the exact steps I use, dosing, wait times, flushing, and when to send a fresh sample to a lab, so you can disinfect your own well safely and confidently. If you’re still deciding what treatment your water needs long-term, start with our complete guide to choosing a home water treatment system.
Key Takeaways
- Shock chlorination floods the whole well with a strong chlorine solution to kill bacteria, it’s a one-time reset, not a permanent fix.
- A common home dose is roughly 3 litres of plain household bleach (5-6% sodium hypochlorite) per 400-500 litres of standing well water, adjusted for depth.
- Let the chlorine sit for 12-24 hours, then flush every tap until the strong smell is gone.
- Wait 7-10 days before retesting so residual chlorine doesn’t mask a real bacteria reading.
- Always confirm the water is safe with a certified lab retest before you go back to drinking it.
What shock chlorination actually does (and doesn’t do)
Shock chlorination, sometimes called shock chlorination well treatment, means dumping a strong, deliberately excessive dose of chlorine into the well so it reaches every surface: the water column, the casing walls, the pump, the pipes and the pressure tank. The chlorine oxidises and kills bacteria like coliform and E. coli that have colonised those surfaces.
Here’s the part people miss: chlorination is a reset button, not a filter. It kills what’s living in the system today. It does nothing to stop new contamination from coming back tomorrow. If bacteria return within a few weeks, chlorination isn’t failing, it’s telling you there’s an ongoing entry point you need to find and fix.
When you should shock chlorinate
- A lab test shows total coliform or E. coli in your drinking water.
- You’ve just installed a new pump, drilled deeper, or opened the casing.
- Water suddenly smells musty, sulphurous, or tastes “off” after heavy monsoon rain.
- The well flooded, or surface water got in through a cracked cap.
- The well sat unused for months (a second home, a farm bore).
When it won’t help
Chlorine does not remove iron, hardness, nitrates, arsenic, fluoride or dissolved chemicals. If your problem is a metallic taste, scale, or a chemical contaminant, disinfection is the wrong tool. Those need dedicated filtration, see our rundown of water filter myths versus facts to match the right treatment to the right problem.
Before you start: safety and supplies
You’re working with a strong oxidiser, moving parts, and possibly an open well. Take it slow. Chlorine gas can build up in a confined pit, so keep the area ventilated and never mix bleach with anything else, especially not acids or ammonia-based cleaners.
Warning: Use plain, unscented household bleach only (5-6% sodium hypochlorite). “Splash-less”, scented, or thickened bleaches contain surfactants and additives you do not want in your drinking water. Wear gloves and eye protection, and don’t run chlorinated water through a softener, RO membrane or carbon filter, it can damage the media. Bypass them first.
Gather this before you touch the well:
- Plain unscented household bleach (5-6%), or granular calcium hypochlorite if you prefer.
- A clean bucket, a garden hose long enough to reach back into the well, and rubber gloves plus goggles.
- Chlorine test strips (0-200 ppm range), cheap and worth it.
- Somewhere safe to discharge the flush water, away from plants, ponds and septic drains.
How much bleach do you need?
Dosing scares people, but the goal is simply to get roughly 50-200 ppm of chlorine throughout the water. You don’t need lab precision, over-dosing slightly is fine because you’ll flush it all out. The table below is the rough guide I keep taped inside my pump-house door for a well with a standing water column of a few metres.
| Standing water in well (approx.) | Plain 5-6% bleach | Or granular calcium hypochlorite (65-70%) |
|---|---|---|
| Up to ~400 litres (small dug well / shallow bore) | ~2-3 litres | ~150-200 g |
| ~400-1,000 litres | ~3-6 litres | ~200-400 g |
| Deep borewell (unknown volume) | ~5-7 litres, then test-strip and top up | ~400-500 g |
To estimate standing water in a bore, you need the depth of water (not total bore depth) and the casing diameter. A rough rule: a 150 mm (6-inch) casing holds about 18 litres per metre of water column. So 20 m of standing water is roughly 360 litres. If you have no idea, err on the generous side and lean on your test strips.
Tip: On my own borewell I stopped guessing and started trusting the strips. I add my first estimate of bleach, recirculate for 20 minutes, then dip a strip. If it doesn’t read a deep dark colour (200 ppm+), I add another litre. Chasing the colour is far more reliable than chasing a maths formula on a well whose exact volume nobody knows.
Step-by-step: how to disinfect your well
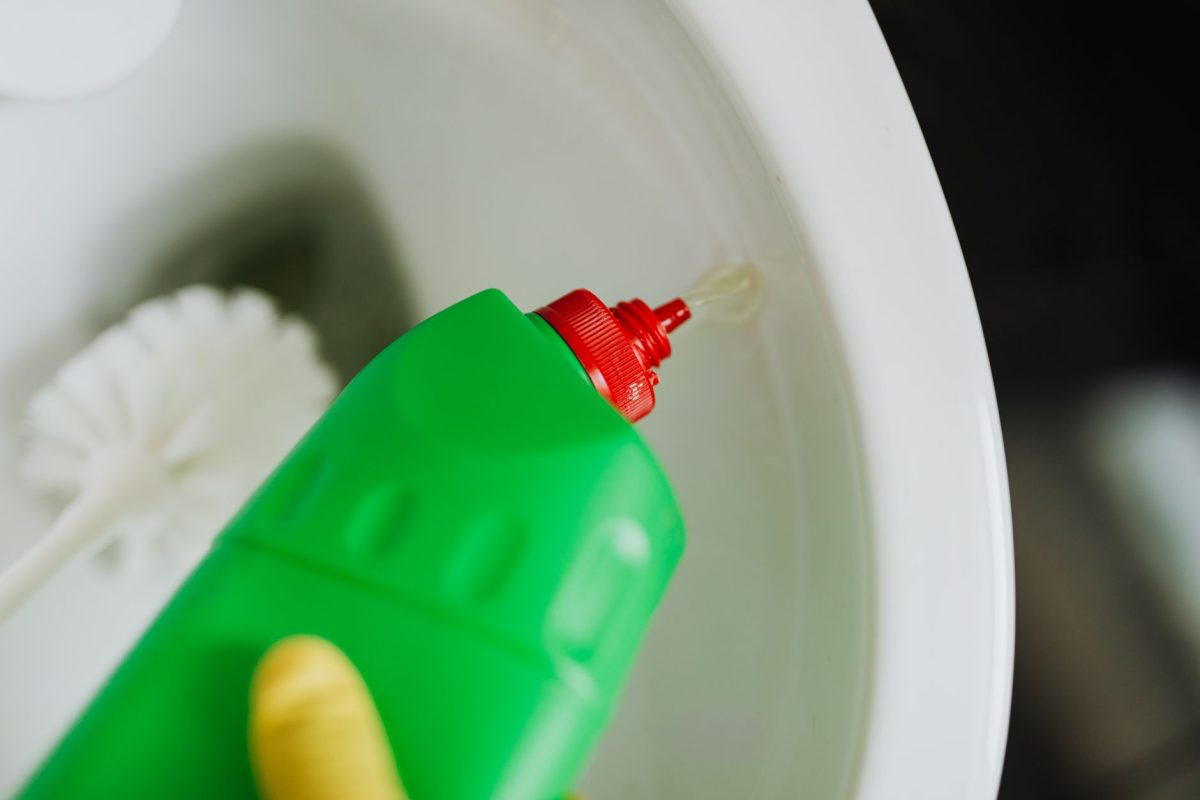
These are the well disinfection steps I follow every time. Read all of them first, then work through in order. Plan for the well to be out of drinking service for about two days.
- Bypass sensitive equipment. Route the well output around any water softener, RO unit, UV lamp or carbon filter so chlorine never touches that media. Turn off the water heater too, or you’ll fill it with chlorinated water.
- Clean the accessible parts. If you can open the well cap, wipe the inside of the casing and cap with a strong bleach solution. Most surface bacteria live on these upper surfaces.
- Mix your dose. Dilute the measured bleach into a bucket of water first, never pour concentrated bleach straight down. Diluting protects the pump and spreads the chlorine.
- Pour it in and recirculate. Add the solution to the well. Connect a hose to a nearby tap and run that water back down into the well for 15-30 minutes. This washes chlorine over the casing walls and mixes the whole column.
- Pull chlorine through every tap. One by one, open each tap, hose bib and shower, hot and cold, until you smell chlorine, then close it. This disinfects the entire plumbing network, not just the well. Don’t forget the fridge line, garden taps and the overhead tank.
- Let it sit 12-24 hours. Leave everything closed. Do not use the water, no drinking, cooking, bathing or laundry. Overnight is ideal.
- Flush the well outside. Run a hose to a safe outdoor spot (away from plants and septic fields) until the strong chlorine smell fades. This clears the bulk of the chlorine from the well itself.
- Flush the indoor plumbing. Now run the indoor taps until they too smell clean and a test strip reads near zero. Refill and flush the overhead tank at least once.
- Wait, then retest. Give it 7-10 days of normal use, then collect a sample and send it to a certified lab for a bacteria retest.
Don’t skip the overhead tank
In Indian tank-and-pump homes, the overhead tank is a favourite hiding spot for biofilm and algae. If you disinfect the bore but ignore the tank, contaminated water just re-seeds the system. Scrub the tank walls, let chlorinated water sit in it during the 12-24 hour soak, then drain and refill. Pairing this with a good pre-tank filter helps, here’s how to install a whole-house sediment filter yourself.
After chlorination: the retest that actually matters
This is the step DIYers rush, and it’s the most important one. If you test too soon, leftover chlorine sterilises the sample and hides bacteria that are still present, you get a falsely clean result. That’s why you wait roughly a week of normal use before collecting.
- Clean pass: No coliform detected. Your disinfection worked. Keep an eye on it and retest in a few months.
- Still positive: Bacteria are getting in from somewhere. Chlorination alone won’t fix an ongoing leak, you have a source problem, not a one-off contamination.
If it comes back positive, look at the physical well: a cracked or missing cap, casing that ends below ground level, a nearby leaking septic tank, or surface runoff pooling around the wellhead after rain. Fixing the entry point is the real cure. For persistent bacteria, a permanent solution like continuous chlorination or a UV disinfection lamp may be worth the investment, weigh that against the numbers in our breakdown of what a home water treatment system really costs.
For dosing tables and health guidance, both the US EPA private-wells resource and the World Health Organization publish plain-language references worth bookmarking. And whatever a home test strip tells you, a certified lab is the only real proof your water is safe to drink again, please don’t treat this article as a medical guarantee.
Frequently Asked Questions
How much bleach do I use to shock a well?
For most home wells, plan on roughly 2-3 litres of plain 5-6% household bleach per 400 litres of standing water, scaling up for deeper bores. Rather than trust the maths on an unknown volume, add your estimate, recirculate, then confirm a strong reading (50-200 ppm) with a chlorine test strip.
How long after chlorination is well water safe?
You can use the water for washing once the strong chlorine smell is fully flushed out, usually within a day or two. But don’t call it safe to drink until a certified lab retest, taken after 7-10 days of normal use, confirms no bacteria are present. Testing too early gives a falsely clean result.
Will chlorination remove bacteria for good?
No. Shock chlorination kills what’s living in the well and pipes today, but it doesn’t seal off future contamination. If bacteria return, it means something is still letting them in, a cracked cap, surface runoff, or a nearby leak. Find and fix that source, or consider continuous UV disinfection.
Can I chlorinate a borewell with a submersible pump?
Yes, and the pump actually helps you circulate the solution. Always dilute the bleach in water before pouring it in so concentrated chlorine never sits against the pump or motor. Recirculate using a surface tap and hose, and bypass any downstream RO, softener or carbon media beforehand.
Is it safe to disinfect a well myself, or do I need a professional?
Basic shock chlorination is a reasonable DIY job if you follow safety steps, ventilate the area, and never mix bleach with other chemicals. Call a professional if the well is very deep, you can’t identify the standing water level, repeated tests stay positive, or you suspect a chemical rather than a bacterial problem.
The practical upshot
A positive bacteria test is unsettling, but it’s a solvable problem. Go slow, use plain bleach, get the chlorine everywhere including the overhead tank, wait patiently, and let a certified lab confirm the all-clear. If the same problem keeps coming back, the well is trying to tell you about a physical entry point worth fixing for good.
Not sure whether one-off chlorination is enough or you need permanent treatment? Take a step back and read our full guide to choosing the right water treatment system for your home, it’ll help you match the fix to the actual problem, and keep your water safe long after the chlorine smell fades.