Open a tap for a glass of water and the pump slams on for two seconds, then off again. Open it a little longer and it hammers on and off like a nervous machine gun. That rapid clicking is the classic signature of a waterlogged pressure tank, and it is one of the most common calls I get from neighbours after monsoon season. In fifteen years of running my own borewell and overhead-tank setup, I have recharged the air in my tank more times than I can count.
This guide walks you through why the tank loses its air cushion, how to confirm the problem in about ten minutes, and how to fix it yourself with a tyre gauge and a bicycle pump. If you understand how a pressure tank actually works, the fix makes a lot more sense, so I will keep pointing back to the basics.
Key Takeaways
- A waterlogged tank has lost its air cushion, so water alone tries to absorb the pump’s pressure swings.
- The tell-tale sign is fast on-off cycling: the pump may kick on 6-10 times a minute instead of once.
- Check the pre-charge with the pump switched off and the tank drained: it should sit 2 psi below your cut-in pressure.
- Most steel tanks can be re-aired in 15-20 minutes for the price of a bicycle pump.
- A ruptured bladder cannot be recharged and needs a new tank, usually roughly Rs 3,000 to Rs 9,000 depending on size.
What “waterlogged” actually means
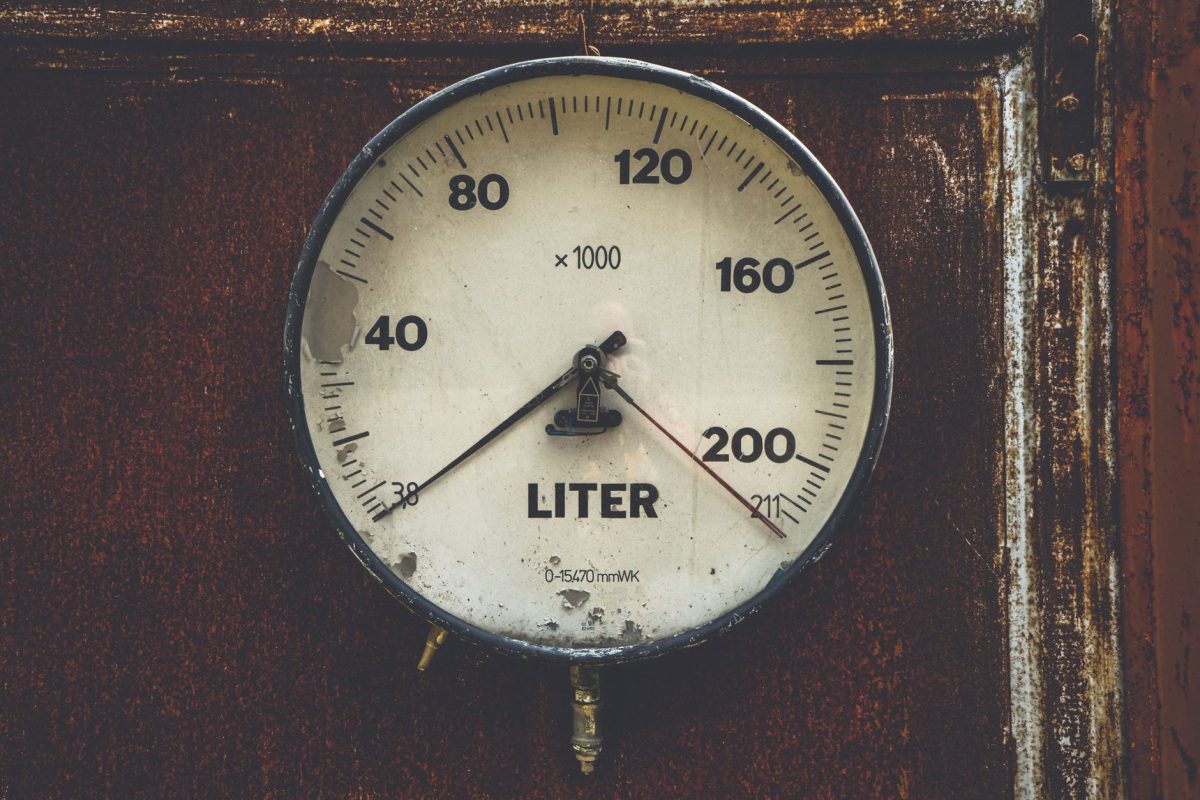
Your pressure tank is not just a bucket of water. Inside it sits a cushion of compressed air. When the pump pushes water in, that air squeezes down and stores pressure. When you open a tap, the air pushes water back out so the pump can rest. That air cushion is the whole point of the tank.
A tank becomes waterlogged when the air cushion shrinks or disappears and water fills nearly the whole vessel. With no air to compress, the tank cannot store any usable pressure. The pump ends up doing all the work, switching on the instant you crack a tap and off again a heartbeat later. That is pump short cycling, and it is hard on the motor, the pressure switch, and your nerves.
Two tank designs, two failure paths
How the air escapes depends on which tank you own. Knowing the type tells you whether a recharge will hold or whether the tank is finished.
| Tank type | How air is held | Why it waterlogs | Can you recharge it? |
|---|---|---|---|
| Bladder / diaphragm tank | Air sealed behind a rubber bladder | Bladder tears or the air valve leaks | Only if the bladder is intact; a split bladder means a new tank |
| Air-over-water (plain steel) tank | Air and water share one chamber | Air slowly dissolves into the water over weeks | Yes, this type is designed to be re-aired periodically |
Plain steel air-over-water tanks are the ones I see most on older borewell setups, and they are meant to be topped up now and then. Bladder tanks are more of a fit-and-forget design, so when one waterlogs it usually means the rubber has failed.
How to confirm the tank is the problem
Fast cycling can also come from a bad pressure switch or a leaking foot valve, so do not just assume. Run these quick checks first.
- Listen and count. Open one tap halfway and count pump starts. More than 3-4 starts a minute points hard at a lost air charge.
- Tap the tank. Rap your knuckles up the side of a steel tank. A hollow ring near the top and a dull thud lower down shows where water sits. An all-dull thud means it is full of water.
- Press the air valve. On a bladder tank, briefly press the schrader valve on top. If water squirts out instead of air, the bladder has ruptured and the tank needs replacing.
Tip: Before I touch anything, I mark the pump’s on and off pressure by watching the gauge through one full cycle. On my own tank the switch cuts in at 20 psi and cuts out at 40 psi, so my target pre-charge is 18 psi. Knowing those numbers up front saves a lot of guessing later.
How to recharge the air in your pressure tank
This is the core fix. It works on plain steel air-over-water tanks and on bladder tanks whose bladder is still intact. You will need a good tyre pressure gauge, a bicycle or foot pump (or a small compressor), and about twenty minutes. Setting the correct pressure tank air charge is the whole job, so go slow on the measuring.
- Cut the power. Switch off the pump at the breaker or the isolator. Never work on a tank with the pump able to start.
- Drain the water out. Open the tap nearest the tank, or its drain valve, and let all the water run out until it stops. The tank must be empty of water before you measure or add air, or your reading will be wrong.
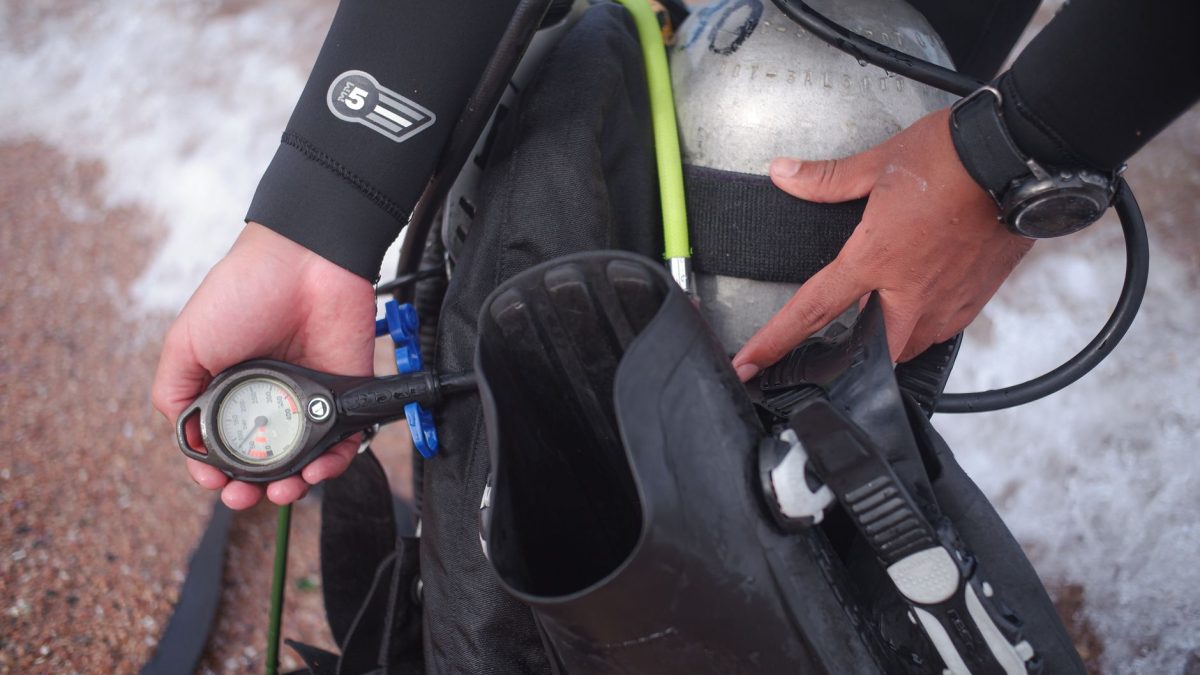
- Check the pre-charge. Put your tyre gauge on the schrader valve at the top of the tank. Now you can check the pressure tank pre-charge against your target, which is 2 psi below the pump’s cut-in setting.
- Add air slowly. Pump air in a little at a time, checking the gauge often. On an air-over-water steel tank you are refilling the whole cushion, so this takes longer than topping up a bladder tank.
- Set it 2 psi under cut-in. Stop when the gauge reads your target, for example 18 psi for a 20 psi cut-in. If you overshoot, press the valve pin to bleed a little back out.
- Close up and restore power. Cap the valve, close the drain, and switch the pump back on. Let the tank fill and watch it run through a normal cycle.
- Test at a tap. Open a tap and count the pump starts again. One clean start followed by a steady run means you have restored the cushion.
Warning: Always drain the tank before you read or recharge the air. Measuring the pre-charge while the tank still holds water gives a falsely high number, and you will chase the fault for hours. I learned that the hard way on a Sunday afternoon years ago.
When a recharge will not hold
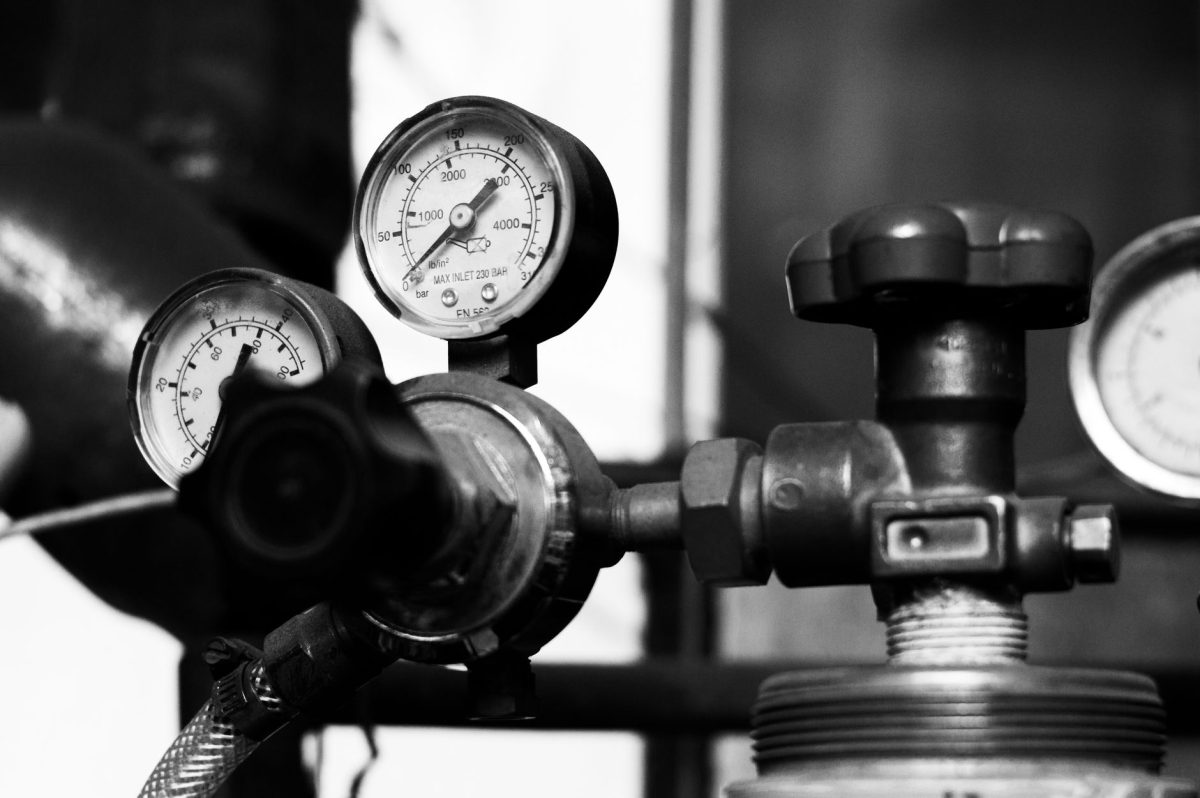
If you re-air a bladder tank and it waterlogs again within a day or two, the bladder is torn and no amount of pumping will fix it. Water and air are now mixing in one chamber, and the air keeps bleeding off through the tap side. At that point you are looking at a replacement rather than a repair.
In my experience a new bladder-style pressure tank runs roughly Rs 3,000 to Rs 9,000 depending on capacity, plus a plumber’s fee if you do not fit it yourself. Before you buy, it is worth confirming the pump’s cut-in and cut-out are correct, because a switch set too tight will short cycle even a healthy tank. If yours needs adjusting, our walkthrough on setting a pressure switch’s cut-in and cut-out covers it step by step.
Keep it from happening again
A little routine keeps a steel tank happy for years. Check the pre-charge every six months, and always after the pump has been serviced or has run dry and lost prime. If your pump loses prime often, that is a separate fault worth fixing, and our guide on how to prime a water pump explains why it happens.
For anything touching your drinking water quality, treat pressure problems and water-safety problems separately. If you notice grit, colour, or odour when the pump cycles oddly, get a sample tested by a certified lab rather than guessing. The United States Environmental Protection Agency keeps solid, non-commercial homeowner guidance at epa.gov/privatewells, and the Central Ground Water Board at cgwb.gov.in is a useful Indian reference.
Frequently Asked Questions
What causes a waterlogged pressure tank?
The tank loses its air cushion. On plain steel tanks air slowly dissolves into the water over weeks, so they need periodic topping up. On bladder tanks the usual cause is a torn bladder or a leaking air valve, which lets the two chambers mix and the air escape.
How do I add air to a pressure tank?
Switch off the pump, drain all the water out, then put a tyre gauge on the schrader valve at the top. Pump air in slowly with a bicycle or foot pump until the gauge reads 2 psi below your cut-in pressure. Cap the valve, refill, and test at a tap.
Can a waterlogged tank ruin my pump?
Over time, yes. With no air cushion the pump short cycles, starting and stopping many times a minute. That rapid switching overheats the motor, wears the pressure switch contacts, and shortens the pump’s life. Fixing the air charge quickly is the cheapest way to protect the motor.
How often should I check the pre-charge?
Every six months is a sensible rhythm for a plain steel tank, and always after servicing the pump or after it has run dry. A quick two-minute check with a tyre gauge, done with the pump off and the tank drained, tells you whether the cushion still sits at the right pressure.
Why does my pump still cycle fast after I recharge the bladder tank?
If a recharge holds for only a day, the bladder is almost certainly split, so the air keeps leaking away. Press the air valve: water coming out instead of air confirms it. A torn bladder cannot be repaired, and the tank needs replacing rather than another recharge.
Putting it together
A waterlogged pressure tank sounds alarming, but on a steel tank it is usually a twenty-minute job with tools you already own. Confirm the fast cycling, drain the tank, and set the air 2 psi below cut-in, and your pump goes back to one clean start per draw. If the air will not hold, the bladder has failed and a new tank is the honest answer. For the full picture of how these parts fit together, browse our complete owner’s guide to home water pumps and pressure systems whenever you want to dig deeper.