You buy a good test kit, follow the colour chart, and the result says your water is fine, or terrifying. Either way, if the sample was collected wrong, the number lying in front of you is fiction. After 15 years running my own borewell and overhead-tank setup, I’ve learned that the most expensive water testing mistakes aren’t in the lab. They happen at your tap, in the sixty seconds before you fill the bottle.
The good news: almost every one of these well water testing mistakes is easy to avoid once you know what to watch for. This guide walks through the slip-ups that quietly ruin accuracy, and the simple habits that keep your readings honest. It’s part of our complete guide to water testing and quality.
Key Takeaways
- Bad sampling, not a bad kit, causes most wrong water test results.
- Bacteria samples must reach a lab cold and within 24-30 hours, or they’re worthless.
- Never rinse a bacteria sample bottle; that white powder inside is a preservative.
- Expired test strips and a hot glovebox can shift readings by a full unit or more.
- Test the same tap, the same way, each time so your numbers are actually comparable.
Why did my water test come back wrong?
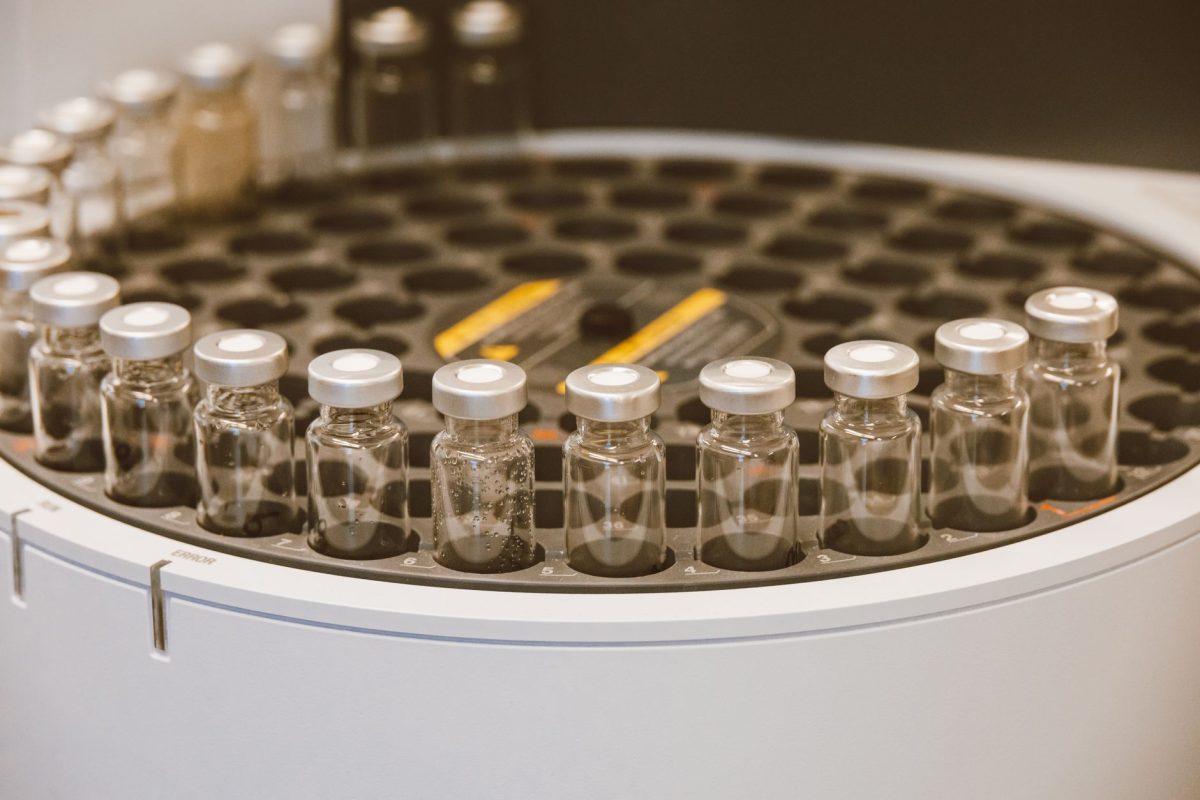
Here’s the uncomfortable truth: a lab or a strip only measures what’s in the bottle you handed it. It has no way of knowing that you filled it from the garden tap, or that the sample sat in a hot car for two days first. The test is honest. The sample was the problem.
Most water sampling errors fall into a few buckets: contaminating the sample, using the wrong container, letting it age or overheat, testing the wrong point, or comparing results that were never comparable. Let’s go through each, and how a real well owner fixes it.
Mistake 1: Contaminating the sample before you even fill the bottle
This is the big one, and the reason for most panicked “my water has bacteria!” calls. For a coliform or E. coli test, the sample has to represent your water, not your tap, your hands, or the hose.
Touching or rinsing the bottle
Bacteria sample bottles are sterile and often contain a small amount of white powder (sodium thiosulphate) that neutralises chlorine. If you rinse the bottle “to clean it,” you’ve thrown out the preservative and possibly added bacteria from your tap water. Don’t rinse it, don’t touch the inside of the cap, and don’t set the cap face-down on the counter.
Sampling from the wrong tap
Skip any tap with an aerator screen, a screw-on filter, or a swivel spout, these harbour their own biofilm and skew bacteria and metals readings. On my own setup I use a plain, hard-plumbed bathroom tap with the aerator removed. Kitchen taps with built-in RO diverters are a common trap; you end up testing the filter, not the well.
Tip from Arjun: For a bacteria test I run the cold tap hard for 3-5 minutes first to flush the standing water in the pipe, then reduce it to a pencil-thin stream, fill without letting the water splash off my fingers, and cap it immediately. That single habit ended years of confusing “positive” results that were really just a dirty tap.
Mistake 2: Using the wrong container
A reused soft-drink bottle feels harmless. It isn’t. Leftover sugar feeds bacteria, plastic can leach into a metals test, and a bottle that once held juice will fail a bacteria test almost every time. Different tests need different bottles, and mixing them up is a quiet way to get wrong water test results.
| Test | Correct container | Common mistake |
|---|---|---|
| Bacteria / coliform | Sterile lab bottle with preservative | Rinsing it or reusing a drink bottle |
| Heavy metals (lead, arsenic, iron) | Acid-washed bottle from the lab | Using any handy plastic bottle |
| Nitrate / general chemistry | Clean bottle, filled to the brim, no air gap | Half-filling and shaking |
| pH / hardness (DIY strips) | Clean glass or the kit’s own cup | Soap residue in the cup |
If you’re sending samples to a certified lab, always use the bottles they provide and follow their instructions to the letter. When in doubt, our complete well water testing checklist lists exactly what to collect and in what order.
Mistake 3: Letting the sample age or overheat
Water is a living, changing thing once it leaves the pipe. Bacteria multiply, chlorine dissipates, pH drifts, and dissolved gases escape. A sample that was accurate on Monday morning can be misleading by Monday night if it’s warm.
- Bacteria samples should reach the lab within roughly 24-30 hours, kept cold in a cooler with ice, never at room temperature in a hot car.
- pH and chlorine change fastest; test these on-site or within a couple of hours, not tomorrow.
- Metals and nitrate are more forgiving but still degrade; follow the lab’s hold-time window.
In our climate this matters more, not less. A bottle left in a car through an Indian summer afternoon can cook past 45°C in an hour, plenty to invalidate a bacteria result. Plan the trip so the sample goes straight from tap to cooler to lab.
Mistake 4: Expired strips and mishandled kits
DIY test strips are brilliant for quick checks, but they’re chemistry, and chemistry expires. I keep a small dated box for mine because I’ve been burned before.
- Check the expiry date and toss strips that are past it, old strips can read a full pH unit off.
- Keep the desiccant packet in the bottle and cap it tightly; humidity ruins strips fast, especially during the monsoon.
- Don’t store the kit in the car. Heat and light degrade reagents; a shaded shelf indoors is far better than a glovebox.
- Read the colour under daylight, not yellow bulbs, and read it at the exact time the instructions say, 30 seconds early or late changes the shade.
- Dip, don’t swish. Waving the strip around or shaking off water washes reagent away and dulls the reading.
Strips are a screening tool, not a verdict. If a strip flags something worrying, high nitrate, off pH, hardness through the roof, confirm it with a certified lab before you spend money on treatment or worry about your health.
Mistake 5: Testing the wrong point, or the wrong day
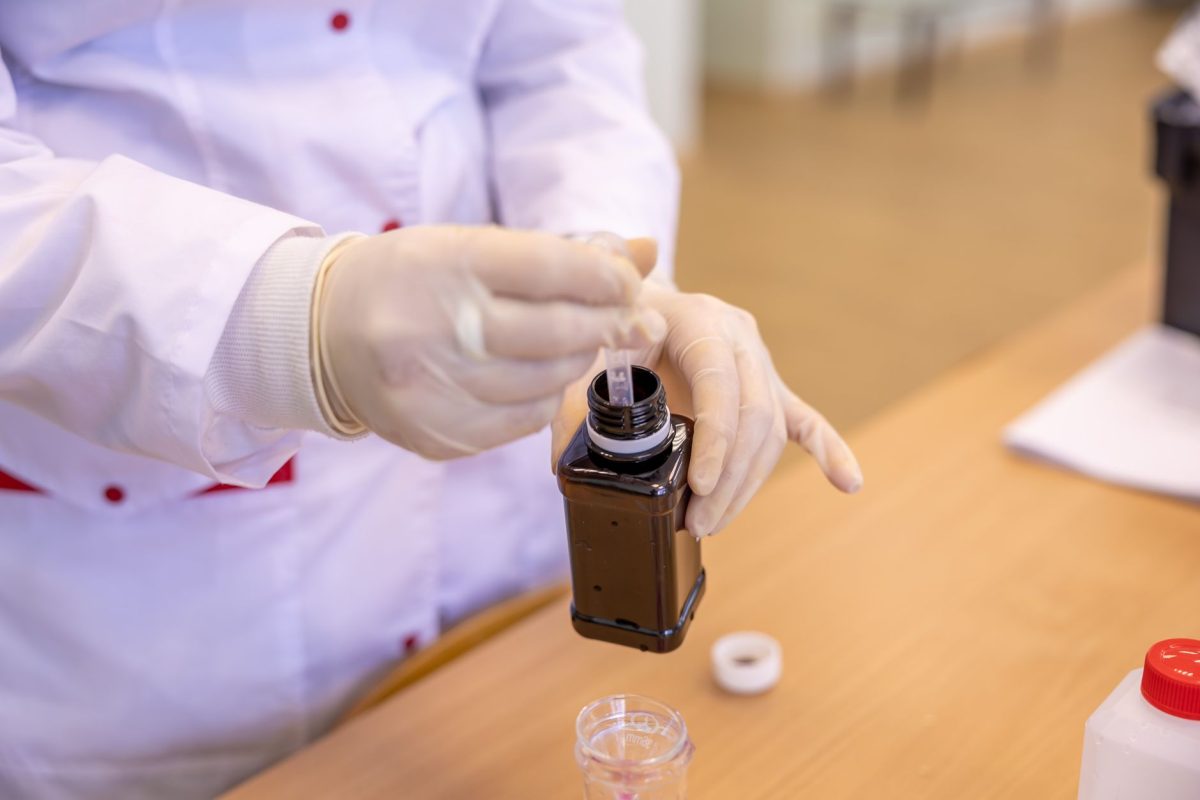
Where and when you sample decides what story the number tells. Two mistakes here trip up almost everyone.
Testing after your own filter or softener
If you want to know what your well is delivering, sample before any RO unit, softener, or whole-house filter. Test after the filter and you’re grading the filter, not the source. Ideally test both points, that’s how you find out whether your treatment is actually working.
Ignoring the season
Borewell water isn’t constant. Bacteria and turbidity often spike right after the first monsoon rains as surface water infiltrates, and dissolved minerals can climb in the dry pre-summer months as the water table drops. A single clean test in December says little about July. Test at least once during and once after the monsoon.
How to collect a proper water sample: the 7-step routine
Here’s the sequence I use every time. It takes ten minutes and eliminates the vast majority of sampling errors.
- Pick a plain, hard-plumbed cold tap; remove any aerator screen or attachment.
- Wash and dry your hands; don’t touch the inside of the bottle or cap.
- Run the cold water hard for 3-5 minutes to flush standing pipe water.
- Reduce to a gentle, pencil-thin stream (for a bacteria test, don’t disinfect the tap with flame if the lab hasn’t asked you to).
- Fill the correct bottle, to the brim for chemistry, to the fill-line for bacteria, without splashing off your fingers.
- Cap immediately, label it with the date, time, and tap, and note anything unusual (smell, colour, recent rain).
- Put bacteria samples straight into a cooler with ice and get them to the lab within 24-30 hours.
Do it the same way each time and your results become genuinely comparable year to year. For the bacteria-specific version of this routine, see our step-by-step guide on how to test well water for bacteria and coliform.
Don’t guess on safety. Test strips and DIY kits screen for trouble; they don’t confirm your water is safe to drink. For anything touching health, bacteria, nitrate, arsenic, lead, get a certified lab result and, if in doubt, talk to your local water authority or a qualified professional before drinking or treating.
A quick self-check before you send anything off
Run through this the moment before you cap a bottle. It’s saved me a wasted trip more than once.
- Right tap, aerator off, standing water flushed?
- Right bottle for this test, not rinsed if it’s a bacteria bottle?
- Filled correctly, brim for chemistry, line for bacteria?
- Labelled with date, time, and location?
- Cold and moving toward the lab, not sitting in a warm car?
Government sources like the Central Ground Water Board and health bodies such as the World Health Organization publish helpful background on groundwater quality and safe drinking-water limits if you want to read further before interpreting your numbers.
Frequently Asked Questions
Why did my water test come back wrong?
Usually the sample, not the water, was the problem. Common causes are a dirty or aerated tap, a rinsed bacteria bottle, a warm sample that aged before reaching the lab, or expired strips. Re-test carefully following a proper routine before assuming your well is actually contaminated.
How do I collect a proper water sample?
Use a plain cold tap with the aerator removed, flush it for 3-5 minutes, wash your hands, and fill the correct bottle without touching the inside. Cap it, label it, keep bacteria samples cold, and deliver them to a certified lab within about 24-30 hours.
Can dirty bottles ruin a water test?
Absolutely. A reused drink bottle carries sugar, residue, or bacteria that produce false positives for coliform and can skew metals readings. For bacteria and metals tests, always use the sterile or acid-washed bottle the lab provides, and never rinse a bacteria bottle before filling it.
How long can a water sample sit before testing?
It depends on the test. Bacteria samples should reach the lab within roughly 24-30 hours and stay cold the whole time. pH and chlorine change within hours, so test them on-site. Metals and nitrate hold longer, but always follow your lab’s stated hold-time window.
Are DIY test strips accurate for well water?
Fresh, well-stored strips are fine for routine screening of pH, hardness, nitrate, and chlorine. They aren’t a substitute for a lab, and expired or humidity-damaged strips can read a full unit off. Use them for early warnings, then confirm anything concerning with a certified laboratory.
Should I test before or after my water filter?
To judge your well, sample before any filter, softener, or RO unit. To judge your treatment, sample after it. Testing only the filtered water hides what your source is really doing. Testing both points tells you whether your equipment is working and worth its maintenance.
The practical upshot
A water test is only as trustworthy as the sample behind it. Pick the right tap, use the right bottle, keep the sample cold and fresh, mind your strips’ expiry, and always test the same way so your numbers actually mean something over time. Get those basics right and you’ll stop chasing phantom problems, and catch the real ones early.
If you’re not sure your last result was reliable, it’s worth a careful re-test. When you’re ready to interpret what those numbers mean for your household, read whether your well water is safe to drink, or browse the full water testing and quality guide to plan your next steps.