The first time I ran my pump for twenty minutes and got nothing but a cough of air and mud, my stomach dropped. My borewell hadn’t gone bone dry, but it had slowed to a trickle that couldn’t fill the overhead tank before the pump ran dry and tripped. Reviving a low-yield borewell became my weekend obsession for the better part of a year. I’ve kept my own borewell, pump and overhead tank running for 15 years, so I’m no stranger to the setup, but this one tested me.
In this post I’ll walk you through exactly what I tried, in order, what actually moved the needle, what wasted my money, and the honest costs. If your bore is fading, this is the field report I wish I’d had. For the bigger picture, start with our complete homeowner’s guide to private wells and water sources.
Key Takeaways
- A slow borewell is usually cloggable, not dead, flushing and cleaning often help before you spend on deepening.
- Flushing (compressed-air/jetting) gave me the biggest short-term jump, but the effect faded in about 8-10 months.
- Rainwater recharge was the only fix that gave a lasting improvement, though it took a full monsoon to show.
- My total spend across everything ran roughly ₹18,000, ₹35,000, far less than a new bore (₹1.5-3 lakh+).
- Test your recovery rate before and after any work so you know what actually helped.
First, I figured out whether it was the well or the pump
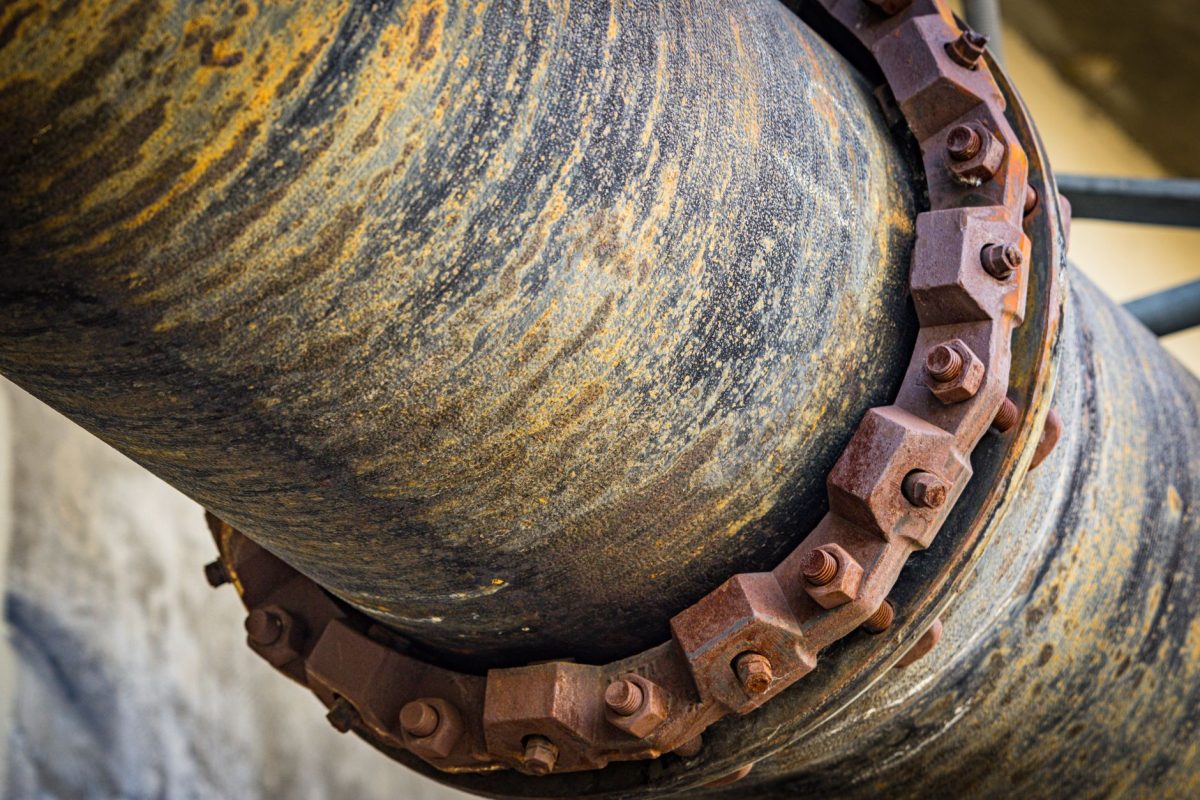
Before spending a rupee on the bore itself, I ruled out the cheap culprits. A weak pump, a clogged foot valve, a leaking riser pipe or a dropped water level in a dry season can all mimic a failing well. I’ve seen people spend lakhs deepening a bore when a ₹2,000 foot valve was the real problem.
Here’s how I isolated the well from the equipment:
- Checked the pump on a full tank. I ran it into an open drum, good pressure meant the pump and motor were fine.
- Watched the water level. I lowered a weighted string to sound the depth before and after pumping. It fell fast and recovered slowly, a well problem, not a pump one.
- Timed the recovery. After running dry, I measured how long the water took to rise back. This is the single most useful number you can get.
If you’ve never done this, our walkthrough on how to measure well yield and recovery rate at home shows the exact method with a rope, weight and a watch. I also cross-checked my symptoms against the common signs a well is failing or running dry, sputtering taps, sediment and a dropping level all pointed the same way.
Tip: Do your recovery-rate test on a dry, hot afternoon when the water table is lowest. That gives you a worst-case baseline. If you test after rain, you’ll fool yourself into thinking the bore is healthier than it is.
What I tried, in order (and what each one did)
I went from cheapest and least invasive to most expensive. That order matters, every step you skip to the “big” solution risks paying for something the small one would have fixed.
Step 1: Flushing and air-jetting the bore
Over years, fine silt, clay and mineral scale coat the borewell casing and clog the perforations and rock fractures that feed water in. Flushing forces high-pressure air (and sometimes water) down the bore to blow that gunk loose so the inflow points open up again. This is the classic first move for increasing borewell yield and it’s what most people mean by “borewell flushing.”
A compressor rig came out, dropped an air line down my 250-foot bore, and blasted it in stages. For about an hour it spat out muddy, sandy water, genuinely satisfying to watch. My borewell flushing results were immediate: recovery that had crawled clearly picked up, and I could fill the tank in one run again for the first time in months.
The catch: it faded. By the next dry season, roughly 8-10 months on, I was back to short runs. Flushing cleans what’s already there; it doesn’t create new water. Still, for the money, it bought me time and told me the bore wasn’t structurally finished.
Step 2: Hydrofracturing (hydro-fracking)
When flushing alone kept fading, a driller suggested hydrofracturing, sealing a section of the bore and pumping water in at very high pressure to widen existing rock fractures and connect the bore to more water-bearing seams. In hard-rock areas this is the step that can genuinely raise a bore’s baseline yield rather than just clean it.
It’s a gamble. On my bore it gave a modest, real improvement, call it a noticeable bump, not a miracle. Results depend heavily on your local geology, and no honest driller will promise a number in advance. If someone guarantees a specific yield, be skeptical.
Step 3: Deepening, the one I’d think twice about
Deepening drills the existing bore further down to reach a lower water-bearing zone. It sounds obvious, but it only works if there’s water deeper, and there often isn’t, especially in over-drilled areas. I did a limited deepening and got almost nothing for it. In hindsight this is where I’d have paused and done a proper geological check first. This is my main “what I’d do differently.”
Step 4: Rainwater recharge, the quiet winner
The fix that actually lasted was the least dramatic. I built a simple borewell recharge pit: a desilting chamber fed by my rooftop and yard runoff, filtering rainwater down toward the bore instead of letting it run to the street. My borewell recharge experience taught me patience, nothing visible happened for months. But after one good monsoon, my dry-season recovery rate was measurably better than the year before, and it held.
Recharge doesn’t clean the bore or fracture rock, it refills the aquifer your bore draws from. It’s slow, it’s cheap, and in my experience it’s the only piece that treats the cause rather than the symptom. The Central Ground Water Board has good public guidance on artificial recharge if you want to design one properly.
What each fix cost me (real ranges)
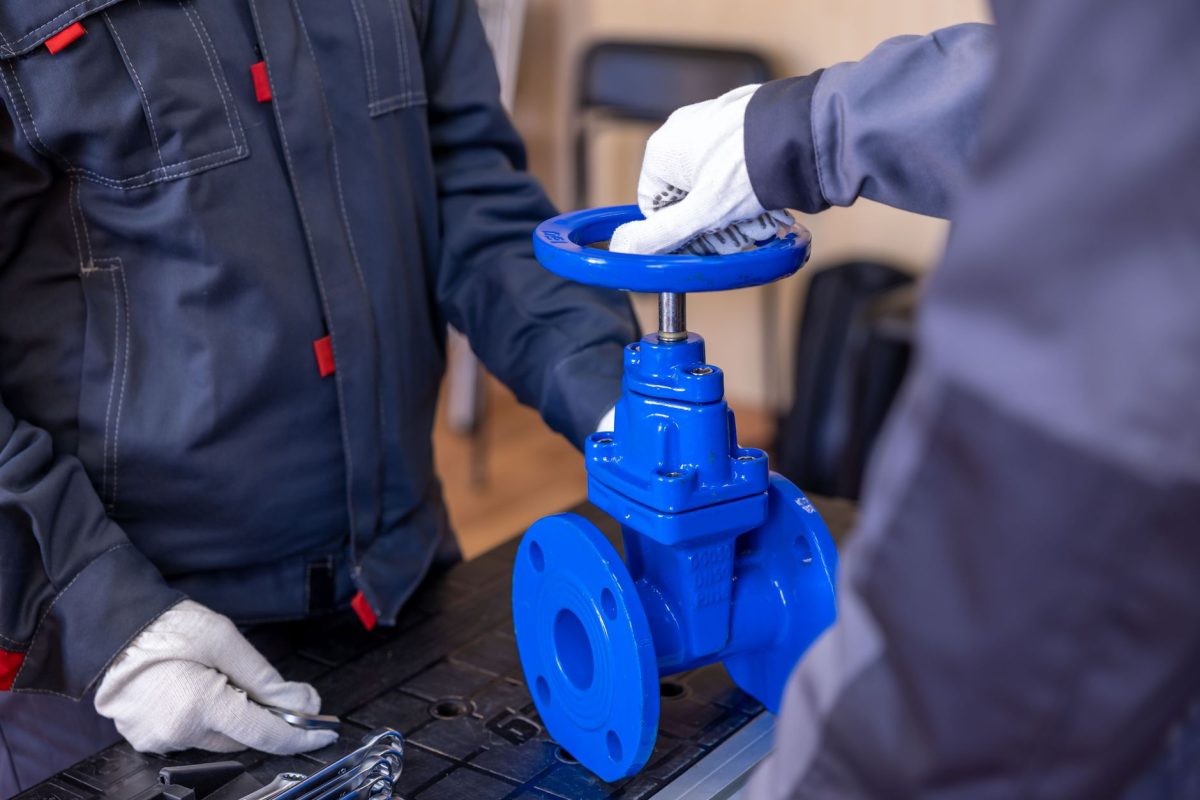
Costs vary a lot by depth, region, rig availability and how deep the driller has to work. These are the ballpark ranges I paid and have seen quoted around me, treat them as a starting point, not a quote.
| Method | Typical cost (₹) | What it does | My result |
|---|---|---|---|
| Air flushing / jetting | 4,000-12,000 | Blows out silt and scale clogging inflow points | Big short-term jump, faded in ~8-10 months |
| Hydrofracturing | 15,000-35,000 | Widens rock fractures to connect more seams | Modest but real, geology-dependent |
| Deepening (per foot) | 60-120 / ft | Drills deeper for a lower water zone | Little to no gain for me |
| Rainwater recharge pit | 8,000-25,000 | Refills the aquifer through rooftop/yard runoff | Lasting improvement after one monsoon |
| New borewell (for scale) | 1.5-3 lakh+ | Drills a fresh bore elsewhere | Avoided, didn’t need it |
Across everything except a new bore, I spent somewhere in the ₹18,000, ₹35,000 range over the year. Compared with drilling fresh, that felt like money well managed, even the deepening that flopped was a cheaper lesson than a wasted new bore. For a fuller picture of new-bore economics, see our breakdown of the real cost to drill a well.
The step-by-step I’d follow next time
If I were starting a dry borewell revival from scratch tomorrow, this is the order I’d run, cheapest and most reversible first:
- Measure your baseline. Record the standing water level and recovery time on a hot, dry day.
- Rule out the pump and pipes. Test the pump on an open drum; check the foot valve and riser for leaks.
- Flush the bore first. It’s the cheapest bore-side fix and tells you whether inflow points are just clogged.
- Get a geology opinion before deepening. Ask the driller and neighbours what depths hold water locally.
- Consider hydrofracturing in hard-rock zones if flushing keeps fading but the bore isn’t dead.
- Build a recharge structure regardless. It’s the long-game fix and helps every other step last longer.
- Re-measure recovery after each step so you know what actually worked before paying for the next.
A word of caution: Reviving a bore can stir up sediment, iron and bacteria for a while afterward. Before you drink from a freshly flushed or recharged borewell, get the water checked by a certified lab. Don’t take colour or clarity as proof it’s safe, I’m sharing a maintenance experience, not a drinking-water safety guarantee.
Honest lessons and what I’d do differently
Three things stand out looking back. First, I chased the exciting fixes (flushing, fracking) before the boring one (recharge) that actually solved it. Second, I deepened on a hunch instead of on evidence, and paid for the guess. Third, I didn’t measure carefully enough early on, so for a while I couldn’t tell which step helped.
If your bore is fading, the reassuring news is that a slow borewell is usually a cloggable or refillable one, not a dead one. Start cheap, measure everything, and treat recharge as the foundation rather than a last resort. General world-health guidance on safe drinking water from the World Health Organization is worth a read once your yield is back and you’re thinking about quality.
Frequently Asked Questions
Can a low-yield borewell be revived?
Often, yes. If the bore isn’t structurally collapsed, a slow yield usually means clogged inflow points or a stressed aquifer, both of which respond to flushing, hydrofracturing or recharge. Measure your recovery rate first; a bore that recovers at all, however slowly, is usually worth trying to revive before drilling anew.
Does borewell flushing work?
It can work well as a first step. Flushing blows out silt and scale clogging the perforations and fractures, and in my case the borewell flushing results were an immediate, noticeable jump in recovery. The downside is that the effect is temporary, mine faded within about 8-10 months because flushing cleans the bore but doesn’t add water.
How much does reviving a borewell cost?
It depends on the method. Air flushing typically runs ₹4,000-12,000, hydrofracturing ₹15,000-35,000, and a recharge pit ₹8,000-25,000. My total across everything landed around ₹18,000-35,000 for the year. That’s a fraction of a new borewell, which can easily cross ₹1.5-3 lakh, so revival is usually worth attempting first.
Is rainwater recharge really worth the effort?
In my experience it’s the most worthwhile fix, though the slowest. A recharge pit doesn’t clean or fracture the bore, it refills the aquifer your bore draws from. Mine showed no visible effect for months, then delivered a lasting improvement in dry-season recovery after one full monsoon. It also makes every other fix last longer.
Should I deepen my borewell to get more water?
Only after evidence, not on a hunch. Deepening reaches a lower water zone, but only if one exists, and in over-drilled areas it often doesn’t. My limited deepening gave almost no return. Ask your driller and neighbours what depths reliably hold water locally before you commit, because it’s a cost you can’t undo.
The practical upshot
Reviving a low-yield borewell is rarely one dramatic fix, it’s a sequence of cheap, measured steps, with rainwater recharge doing the quiet, lasting work underneath. Start by proving it’s the well and not the pump, flush before you fracture, get evidence before you deepen, and re-measure at every stage. If you’re mapping out your whole water setup, our complete guide to private wells and water sources is the best next stop. Take it one step at a time, and give your bore an honest chance before you write it off.