The first borewell I ever paid for came up bone-dry at 260 feet, and I still remember the sinking feeling when the driller quietly packed up his rig. That hole cost me real money and taught me a lesson: where you drill matters far more than how deep you go. Over 15 years of managing my own borewell, pump, and overhead-tank setup, I’ve watched neighbours repeat the same mistakes, trusting a random spot or a “water diviner” and hoping for the best. These borewell drilling location tips are the exact checklist I now use before any rig arrives, so you can weigh geology, keep safe distances from contamination, and plan site access before you commit. Get the spot right and you save yourself a dry hole, wasted cash, and years of a weak, silty supply.
Key Takeaways
- Study your plot’s geology and how nearby borewells perform before you pick a spot, successful neighbours are your best free “survey”.
- Keep the borewell at least 15 metres (about 50 feet) from any septic tank, soak pit, or drain to protect drinking-water quality.
- A proper groundwater survey (geophysical resistivity) costs roughly ₹3,000, ₹8,000 and can save you a failed hole worth ₹80,000 or more.
- Leave clear overhead and side access so the drilling rig, its boom, and the compressor lorry can actually reach the point.
- Water diviners are not science, treat their results as a guess, not a guarantee.
Why the drilling spot decides everything
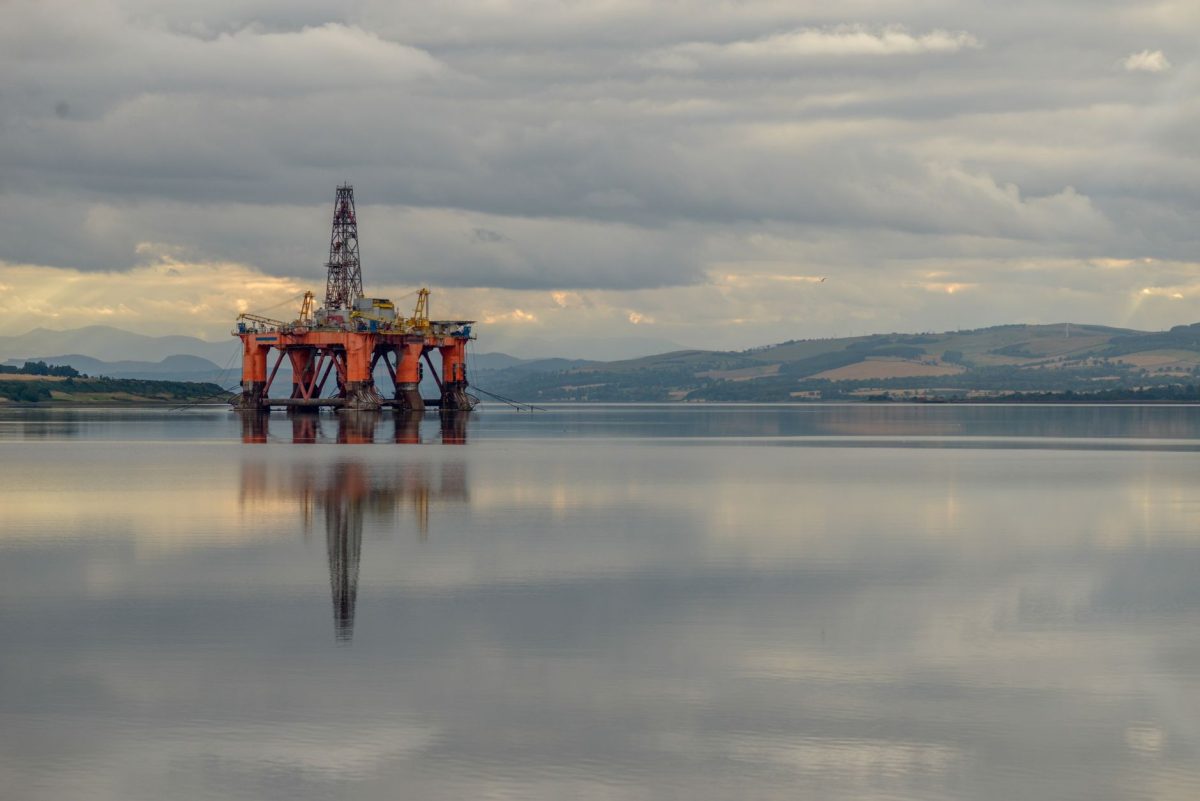
Groundwater doesn’t sit in one big underground lake. It collects in cracks, fractures, and porous layers of rock that can shift dramatically from one corner of your plot to another. Two borewells drilled just 30 feet apart can give wildly different results, one gushing, one dry. That’s why borewell siting is the single most important decision you’ll make, and it’s worth slowing down for.
The wrong spot costs you three ways: a dry or low-yield hole that has to be abandoned, a supply that runs muddy or dries up every summer, or a location so cramped the rig can’t set up properly. Any one of these turns a one-time job into a recurring headache. The good news is that a careful, systematic approach stacks the odds heavily in your favour.
Step-by-step: how to choose where to drill
Here’s the sequence I follow, in order. Don’t skip ahead, each step narrows down the options before you spend anything on a survey or a rig.
- Map your plot and mark the fixed points. Sketch your boundary, the house, septic tank, soak pit, drains, existing wells, big trees, and the power line. You can’t decide where to drill borewell until you know what you must stay away from.
- Ask the neighbours. Find out how deep the borewells on your street are, how much water they give, and whether any went dry. This local track record is the most honest groundwater data you’ll ever get, and it’s free.
- Look for natural water signs. Green patches that stay lush in peak summer, ant hills, certain water-loving trees, and low-lying land where rainwater collects can all hint at shallower groundwater. Treat these as clues, not proof.
- Commission a groundwater survey. For a serious hole, get a geophysical resistivity survey from a qualified hydrogeologist. It reads the rock layers electrically and marks the most promising point and likely depth.
- Check every safe-distance rule. Confirm the shortlisted point clears all contamination sources and boundary setbacks (table below). This is non-negotiable for drinking water.
- Test rig and vehicle access. Walk the route the lorry and rig will take. Confirm the boom has clear sky above it and there’s room for the compressor and pipes.
- Mark the final point and confirm with your driller. A good driller has drilled dozens of holes nearby and may spot a problem you missed. Get their read before the bit turns.
How do you find groundwater for a borewell?
Finding groundwater reliably comes down to two things: local evidence and a proper groundwater survey for borewell work. Local evidence means the performance of nearby wells and visible surface signs. The survey means geophysics, usually an electrical resistivity test that maps how easily current passes through the rock, since water-bearing fractures behave differently from solid rock.
Skip the “water diviner” with the coconut or the bent rod. I’ve seen diviners get lucky and I’ve seen them cost people a fortune in dry holes. There’s no scientific basis for dowsing. If you want a real edge, spend the money on a survey instead, it’s the closest thing to X-ray vision you’ll get for the ground under your feet.
Does a geological survey help before drilling?
Yes, genuinely, and it’s usually money well spent. A hydrogeologist reads your local geology and runs a resistivity survey to pinpoint the best place for borewell drilling and the depth where you’re likely to strike water. In hard-rock regions like much of peninsular India, where water hides in narrow fractures, this can be the difference between a strong bore and a costly miss.
The survey isn’t a 100% guarantee, nothing underground ever is. But it dramatically shifts the odds, especially on a tricky plot or after a neighbour’s bore has failed. India’s Central Ground Water Board also publishes regional groundwater information that a good surveyor will factor in.
Safe distances: keep your water clean and legal
This is the part most people rush, and it’s the one that can quietly poison your drinking water. Groundwater flows, and so does contamination. A borewell placed too close to a septic tank, cattle shed, or waste pit can pull in bacteria and nitrates for years before anyone notices. Use these distances as a floor, not a target, more is always safer.
| Source to avoid | Minimum distance | Why it matters |
|---|---|---|
| Septic tank / soak pit | 15 m (~50 ft) | Prevents bacteria and nitrate contamination of your supply. |
| Cattle shed / manure pit | 15-30 m | Animal waste is a major source of coliform bacteria. |
| Open drain / sewer line | 15 m | Leaking waste water seeps toward the bore over time. |
| Another borewell | 60+ m where possible | Too close and the two wells fight over the same water. |
| Plot boundary / wall | 1.5-3 m | Rig needs clearance; some local rules set setbacks. |
| Overhead power line | Clear of the rig boom | The mast is tall, contact is a fatal hazard. |
Distances vary with soil type, slope, and how the land drains, sandy soil moves contamination faster than clay. And always check your local municipal or panchayat rules, because borewell setbacks and permits differ by state. If you’re worried about existing contamination, get the water tested at a certified lab; I’ll never tell you a distance alone guarantees safe drinking water.
How far should a borewell be from a septic tank?

Keep at least 15 metres (about 50 feet) between your borewell and any septic tank or soak pit, and place the bore uphill of the tank if your land slopes, so waste water drains away from it rather than toward it. On sandy or fractured ground, stretch that gap wider. This single rule protects your family’s health more than almost anything else on this list.
Tip from my own plot: When I re-drilled after my first failure, I paid ₹5,000 for a resistivity survey and moved my point just 40 feet from where the diviner had insisted. The new bore hit a good fracture at 190 feet and has run strong for over a decade. The survey fee was the best water money I ever spent, a rounding error next to another dry hole.
Access, layout, and the practical stuff drillers care about
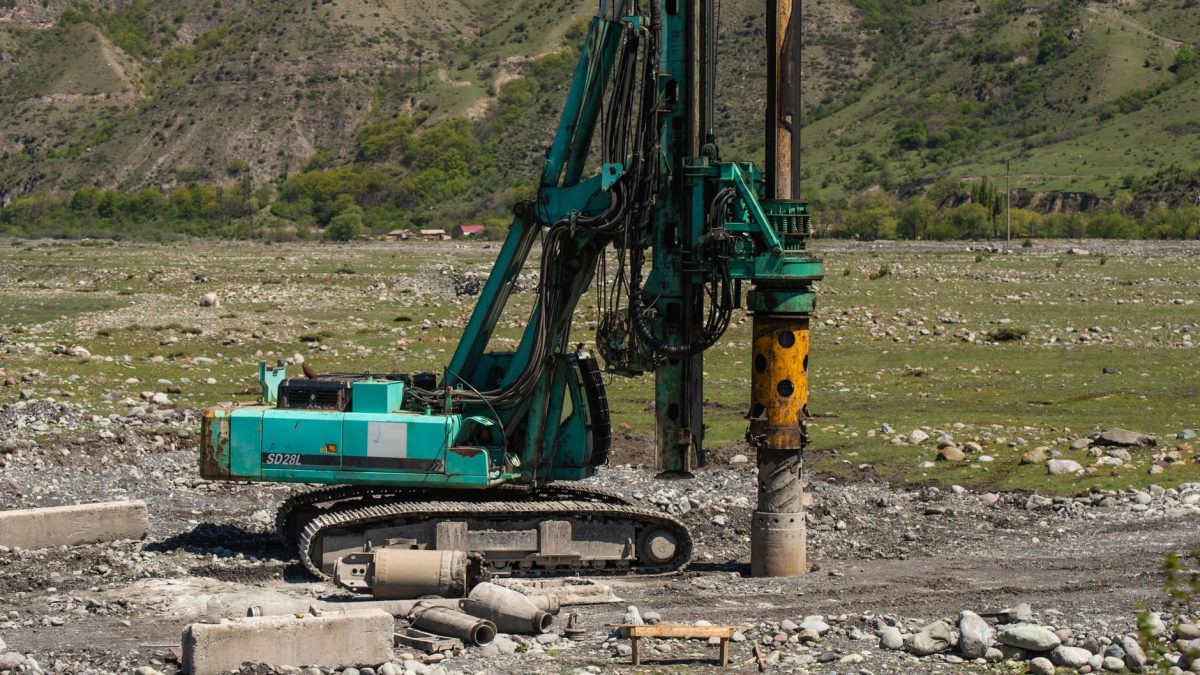
A perfect geological spot is useless if the rig can’t reach it. Drilling rigs are mounted on heavy lorries with a tall vertical mast, and they tow a separate air compressor. Before you finalise the point, walk the site with these questions in mind:
- Overhead clearance. The mast rises 30 feet or more. No power lines, tree branches, roof eaves, or first-floor slabs above the point.
- Vehicle access. Can a heavy lorry actually get within a few metres? Narrow gates and soft, waterlogged ground are common deal-breakers.
- Space for the crew. Room for the compressor, drill pipes laid on the ground, and the slurry that comes up during drilling.
- Future plumbing. Pick a spot that keeps the pipe run to your sump or overhead tank short and simple, every extra metre of pipe adds friction and cost.
- Drainage of cuttings. Drilling throws out a lot of wet rock dust; make sure it won’t flood a neighbour or your own garden.
I always mark the exact point with a peg and a splash of lime the evening before, then re-check it in daylight with the driller. It’s a two-minute habit that has caught more than one “wait, the rig can’t turn in here” problem before it became expensive. For a fuller picture of what the whole job costs, see our real cost to drill a well breakdown before you sign anything.
Judging whether a spot will actually give water
Location gets you to the right point; testing tells you if that point delivers. Once a bore is drilled, drillers do an air-lift yield test to see how many litres per hour it pushes out. But you can predict a lot beforehand by studying local wells. If every bore within 200 metres gives good water at 200 feet, yours probably will too. If half the street has gone dry, drill with caution and a realistic depth budget.
After drilling, don’t just trust the driller’s word on yield, learn to check it yourself. Our guide on how to measure well yield and recovery rate at home walks you through a simple method so you know exactly what you’re paying for. And avoid the classic traps in our roundup of common well mistakes that cost homeowners money, most of them start with a rushed decision about location.
The wider science of aquifers and safe private-water practice is worth understanding too; the World Health Organization has solid, non-commercial guidance on protecting private drinking-water sources from contamination.
Frequently Asked Questions
How do you find groundwater for a borewell?
Combine local evidence with science. Check how nearby borewells perform and look for surface signs like year-round green patches. Then commission an electrical resistivity survey from a hydrogeologist, which maps water-bearing fractures in the rock. Skip water diviners, dowsing has no scientific basis and often leads to costly dry holes.
Does a geological survey help before drilling?
Yes. A geophysical resistivity survey reads your rock layers and pinpoints the likeliest water-bearing spot and depth, which is invaluable in hard-rock areas where water hides in narrow fractures. It costs roughly ₹3,000, ₹8,000, a small fraction of a failed bore. It improves your odds sharply but can never fully guarantee water.
How far should a borewell be from a septic tank?
Keep a minimum of 15 metres (about 50 feet), and more on sandy or fractured ground where contamination travels faster. Where the land slopes, place the borewell uphill of the septic tank so waste water drains away from it. When in doubt, go wider and confirm your supply’s safety with a certified lab test.
Do water diviners really work for borewell siting?
There’s no reliable evidence that dowsing finds water. Diviners sometimes succeed simply because groundwater is common in many areas, not because the technique works. For a decision this expensive, put your money into a proper groundwater survey rather than a coconut or a bent rod. The odds are far better and the reasoning is transparent.
Can I drill a borewell anywhere on my plot?
Not quite. You must respect safe distances from septic tanks, drains, and boundaries, keep clear of overhead power lines, and allow heavy-rig access. Many states and municipalities also require a permit and set minimum setbacks. Check your local panchayat or municipal rules before finalising the point to avoid fines or forced abandonment.
So, where does that leave you?
Choosing where to drill isn’t luck, it’s a short, disciplined process: study your plot, learn from neighbouring wells, invest in a real survey, respect safe distances, and make sure the rig can physically reach the point. Do those five things and you sidestep the expensive mistake I made on my very first bore. Spend a little time and a modest survey fee up front, and you’ll likely enjoy years of clean, reliable water instead of staring down a dry hole.
Ready to plan the bigger picture? Start with our complete homeowner’s guide to private wells and water sources for everything from siting to daily maintenance, or browse the full Wells & Water Sources library at your own pace. Your future self, and your water bill, will thank you.