The water from your borewell can look crystal clear, smell fine, and taste perfectly normal, and still be carrying coliform bacteria you’d never want your family drinking. That’s the uncomfortable truth I learned years ago when a neighbour’s “clean-looking” well came back positive after a monsoon. In 15 years of running my own borewell and overhead tank, I’ve come to treat bacteria testing as the one check you never skip. This guide walks you through exactly how to test well water for bacteria, step by step, so you collect a clean sample, read your coliform and E. coli results correctly, and know the moment a result means stop drinking.
Whether you use a DIY strip, a mail-in kit, or a certified lab, the method matters more than the brand. Get the sampling wrong and even safe water can read “positive.” Let’s do it properly.
Key Takeaways
- A clean, contamination-free sample is half the test. Sterilise the tap, don’t touch the bottle rim, and fill it right.
- Test at least once a year, and always after floods, monsoon, well repairs, or a new pump install.
- Total coliform is a warning flag; E. coli is a red flag that fecal contamination is present.
- Get your sample to a lab or into an incubated kit within 24-30 hours, kept cool the whole way.
- A positive E. coli result means stop drinking that water immediately and switch to a safe source until it’s confirmed clear.
Why bacteria testing is the one test you can’t eyeball
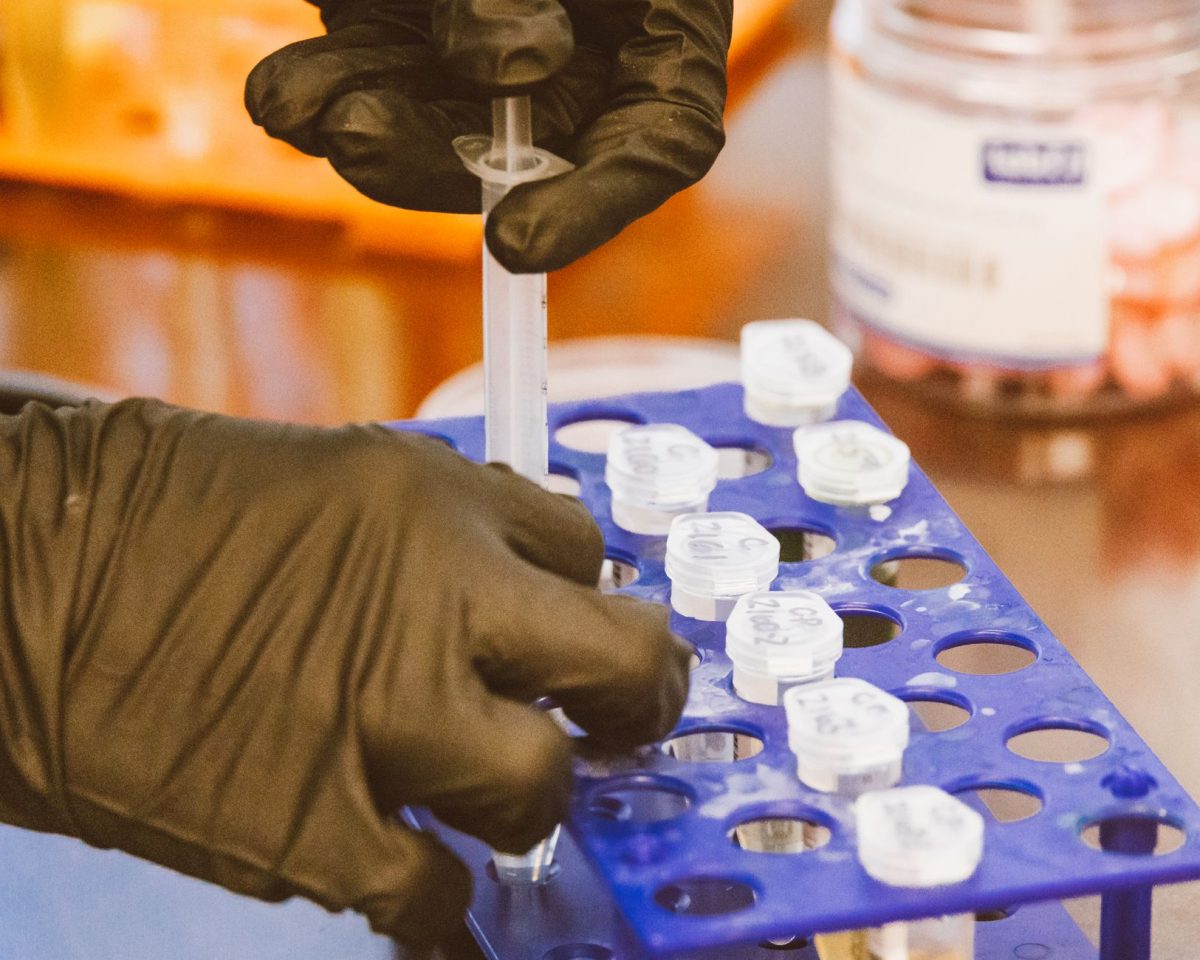
Chemicals like iron or hardness often announce themselves through stains, taste, or scale. Bacteria don’t. Coliform organisms are invisible, tasteless, and odourless, so the only way to know they’re there is a proper test. That’s why bacteria sits at the top of every testing checklist I recommend.
Coliform bacteria live in soil, plants, and the guts of animals. Finding total coliform in your well doesn’t automatically mean sewage; it usually means a pathway exists for surface contamination to reach your groundwater, often a cracked casing, a poorly sealed wellhead, or shallow water after heavy rain. Finding E. coli is more serious: it points specifically to fecal contamination and a real risk of waterborne illness.
If you want the wider picture of what else belongs on your annual test list, our complete guide to water testing and quality lays out the full panel and how often to run each check.
When to run a coliform test on well water
- Once a year as a baseline, ideally at the same time each year.
- After any flooding or standing water near the wellhead.
- Right after the monsoon, when surface water infiltration peaks.
- Following well repairs, pump replacement, or opening the casing.
- Whenever the taste, smell, or colour suddenly changes.
- If anyone in the household has repeated unexplained stomach upsets.
Choosing your bacteria water testing method
You have three realistic options for a coliform test on well water, and they trade off cost, speed, and reliability. Here’s how they compare so you can pick before you collect a single drop.
| Method | Typical cost (India) | Result time | Best for |
|---|---|---|---|
| DIY presence/absence strip or vial | ₹150, ₹500 | 24-48 hrs | A quick yes/no screen at home |
| Mail-in / drop-off kit (accredited lab) | ₹600, ₹1,500 | 2-5 days | A reliable result with documentation |
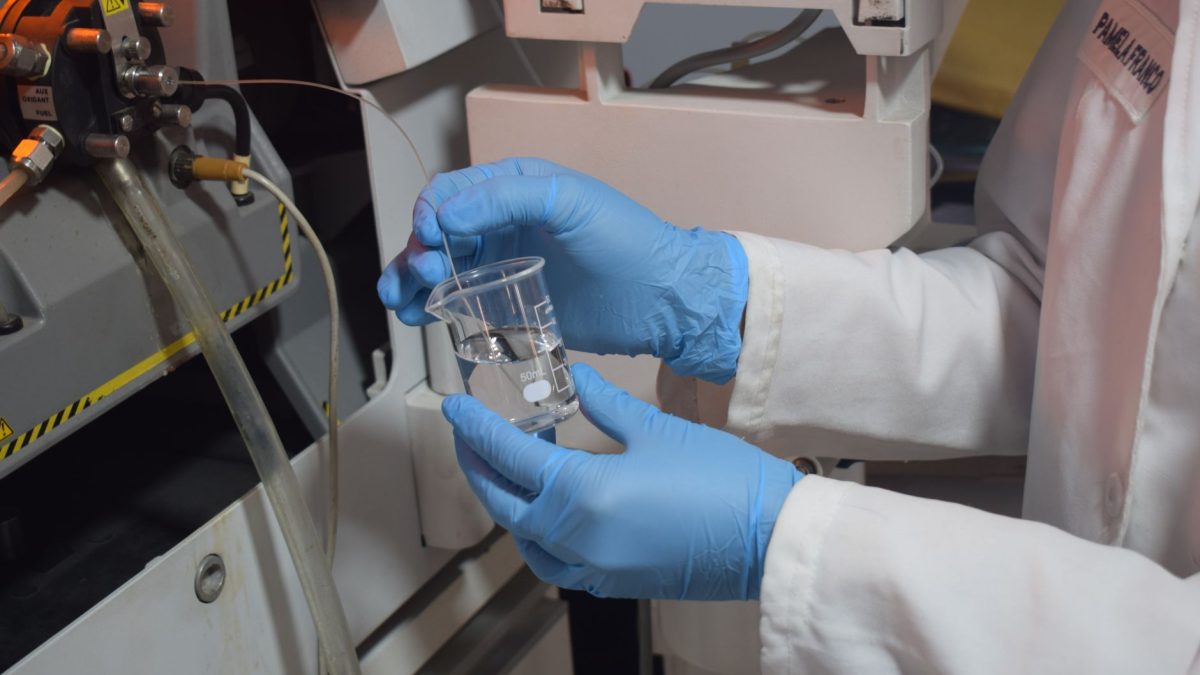
| Certified lab, full microbial panel | ₹1,200, ₹3,500+ | 3-7 days | Confirming a positive or health concern |
My honest take: a DIY kit is great for routine peace of mind, but if it ever comes back positive, don’t rely on it alone. Confirm with a NABL-accredited or government-approved lab. Home strips can throw false positives from a dirty sample, and they can’t always distinguish total coliform from E. coli.
Tip: When I mail samples in, I call the lab first and ask for a sterile bottle with sodium thiosulfate if my supply is chlorinated. It neutralises leftover chlorine so you’re testing the water, not the disinfectant. Also ask their exact cut-off time so your sample doesn’t sit over a weekend.
How to test well water for bacteria: 7 steps
The single biggest reason for a wrong result is a contaminated sample, not a bad well. Follow these steps in order and you’ll trust your result whichever kit you use.
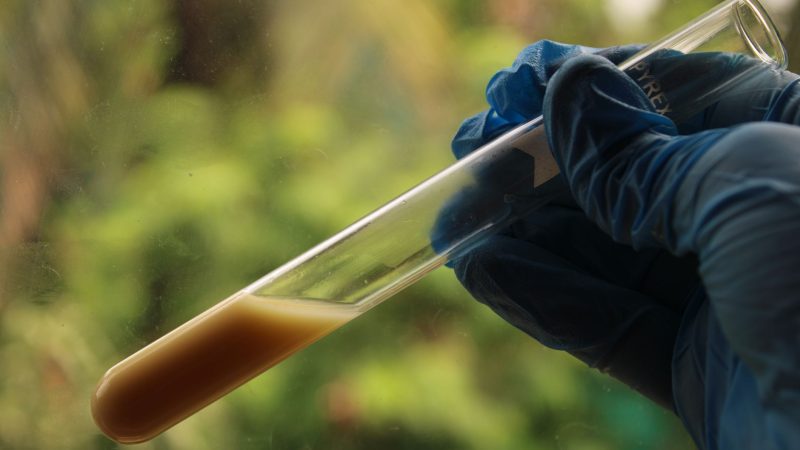
- Get your kit and bottle ready. Use the sterile bottle the lab provides, or a fresh unopened DIY vial. Don’t rinse it out. Any rinsing can introduce bacteria and, in lab bottles, wash away the preservative.
- Pick a representative tap. Choose one directly on the supply line, usually a garden or kitchen cold tap before any filter or softener. Remove aerators, screens, and any hose attachment.
- Sanitise the tap. Wipe the spout with a flame from a lighter for a few seconds, or swab it with a diluted bleach or alcohol wipe. This kills bacteria sitting on the tap itself, which is a common false-positive source.
- Flush the line. Run the cold tap steadily for 2-3 minutes so you sample fresh well water, not water that’s been sitting in your pipes or tank overnight.
- Fill without contaminating. Reduce to a gentle stream, uncap the bottle, and hold the cap face-down. Never touch the inside of the cap or the bottle rim, and don’t set the cap on any surface. Fill to the marked line, leaving a small air gap if the instructions say so.
- Label and cool immediately. Cap it, note the date, time, and tap location, and put it straight into a cooler or fridge. Warmth lets any bacteria multiply and skews results.
- Deliver within the window. Get the sample to the lab, or start incubating your DIY kit, within 24-30 hours. Beyond that most labs will reject it and you’ll have wasted the trip.
On my own borewell, the first time I tested I skipped the flush and sampled straight from an overhead-tank tap. It read positive. A clean re-test from the source tap came back clear, the tank had biofilm on its walls. That lesson stuck: sample from the source, and treat the tank as a separate problem. If you want to avoid the traps that quietly ruin results, this rundown of common well water testing mistakes is worth ten minutes.
Reading your results: coliform and E. coli explained
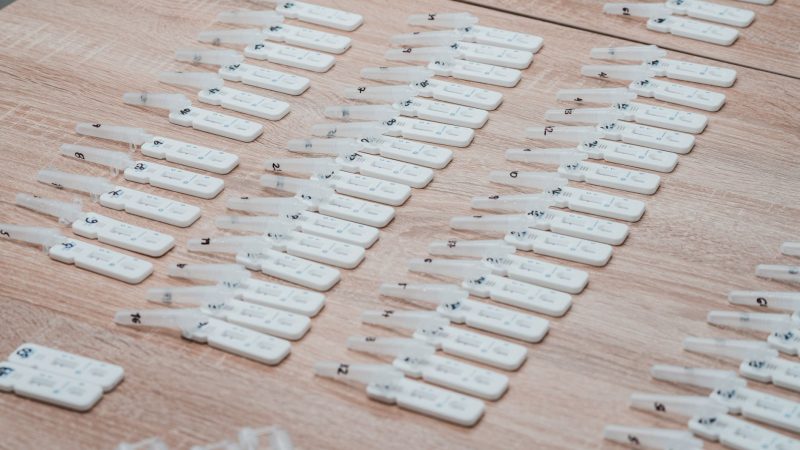
Most home coliform tests use a “presence/absence” format: the sample changes colour or fluoresces if bacteria grow. Lab reports give you counts (often as MPN, most probable number, per 100 ml). Here’s how to make sense of what you get back.
| Result | What it means | What to do |
|---|---|---|
| Total coliform absent, E. coli absent | No bacterial indicators detected | Water passes; keep to your annual schedule |
| Total coliform present, E. coli absent | A contamination pathway exists, but no clear fecal signal | Re-sample carefully; inspect and shock-chlorinate the well |
| Total coliform present, E. coli present | Fecal contamination confirmed | Stop drinking now; use a safe source and disinfect |
For drinking water, the accepted target for both total coliform and E. coli is zero per 100 ml, which lines up with guidance from the World Health Organization and Indian drinking-water standards. Any detectable E. coli means the water is unsafe to drink as-is.
Warning: A positive E. coli result is not a “wait and see” situation. Stop drinking and cooking with that water immediately, switch to bottled or a known-safe source, and boil water for other uses until the well is disinfected and a follow-up test comes back clear. Vulnerable people, infants, elderly, and anyone immunocompromised, are most at risk.
What to do after a positive coliform test
- Re-test with a fresh, carefully collected sample to rule out sampling error.
- Inspect the wellhead, casing, and cap for cracks or gaps where surface water can enter.
- Shock-chlorinate the well and plumbing, then flush thoroughly.
- Wait the recommended period, then re-test. Confirm two clear results before you trust it again.
- If it keeps coming back positive, get a professional to inspect the well and consider permanent disinfection like UV treatment.
Bacteria rarely travel alone with the same causes. If runoff is getting in, nitrates may be too, so it’s smart to run a nitrate check alongside; here’s how to test well water for nitrates using a similar clean-sample approach. And if you’re weighing whether your supply is fit to drink overall, this plain-English take on well water safety answers the questions people ask me most.
Can you test for E. coli at home reliably?
Yes and no. Several home E. coli water test kits work by incubating the sample and reading a colour or UV-fluorescence change, and for a screening yes/no they’re genuinely useful. But home kits depend heavily on your technique, a steady warm incubation, and reading the result at exactly the right time.
For a decision as important as drinking-water safety, I treat DIY as the smoke alarm, not the fire brigade. It tells you to act; a certified lab tells you exactly what you’re dealing with. When health is on the line, confirm any positive with an accredited lab and, if symptoms are present, talk to a doctor or public-health office. I’m sharing a practical method here, not a medical or safety guarantee, your certified lab result is the authority.
Frequently Asked Questions
How do you test well water for coliform bacteria?
Collect a clean sample from a sanitised source tap after flushing the line, using a sterile bottle you don’t rinse. Then either send it to an accredited lab or use a presence/absence DIY kit. Keep the sample cool and deliver it within 24-30 hours for a valid coliform result.
Can I test for E. coli at home?
Yes. Home E. coli test kits incubate your sample and show a colour or fluorescence change if bacteria grow. They’re good for a quick screen, but results hinge on clean sampling and correct incubation. Always confirm any positive result with a certified lab before making drinking-water decisions.
What does a positive coliform test mean?
It means a pathway exists for surface contamination to reach your well. Total coliform alone is a warning to inspect and re-test. If E. coli is also positive, fecal contamination is confirmed and the water is unsafe to drink, stop using it and disinfect before re-testing.
How often should I test my well for bacteria?
At least once a year as a baseline, and extra tests after floods, the monsoon, well repairs, or a pump replacement. Also test whenever taste, smell, or colour changes suddenly, or if household members have repeated unexplained stomach illness that could be waterborne.
Does boiling fix bacteria in well water?
Boiling for a rolling minute kills bacteria and makes water safe to drink short-term, which is why it’s the standard advice after a positive result. But it’s a stopgap, not a cure. The well itself still needs disinfecting and a clear follow-up test before you rely on the tap again.
So, where does that leave you?
Testing well water for bacteria isn’t hard, but it is unforgiving of shortcuts. Nail the clean sample, keep it cool, deliver it on time, and read total coliform and E. coli for what they really tell you. A clear result buys real peace of mind; a positive one gives you a clear next move rather than a vague worry. When in doubt, let an accredited lab be the final word.
If you’re setting up a proper testing routine for the year, browse the rest of our water testing and quality guide to see what else deserves a spot on your checklist. Test once, sleep better.