The first time I crawled under my kitchen sink to install an RO unit, I banged my head on the U-trap and knocked over a bottle of dish soap. Fifteen years and three RO systems later on my own borewell setup, I’ve learned that the best under sink RO system isn’t the one with the flashiest brochure, it’s the one that fits your water, your cabinet, and your patience for filter changes. If your borewell throws hard, salty, or slightly murky water, a point-of-use RO tucked below the counter is the quietest, tidiest way to get genuinely clean drinking water. In this guide I’ll show you the units worth shortlisting and, more importantly, the specs that actually matter so you don’t overpay for numbers you’ll never use.
For the bigger decision of whether RO is even the right tool for your water, start with our complete guide to choosing a home water treatment system, then come back here to pick a specific unit.
Key Takeaways
- Match the unit to your TDS first, most home borewell water sits between 300 and 2,000 ppm, and that number decides how many stages and what membrane you need.
- Tankless RO gives fresher water and frees up cabinet space, but a good tank-based unit is cheaper to buy and keeps flowing during a power cut.
- Waste ratio matters: budget units dump 3-4 litres of reject for every litre you drink; efficient models cut that to roughly 1:1.
- Budget for filters, not just the box, expect ₹1,500, ₹5,000 a year in pre-filters and periodic membrane changes.
- Always confirm your water quality with a certified lab before you buy, the report tells you what you actually need to remove.
Why an under-counter reverse osmosis unit beats a countertop box
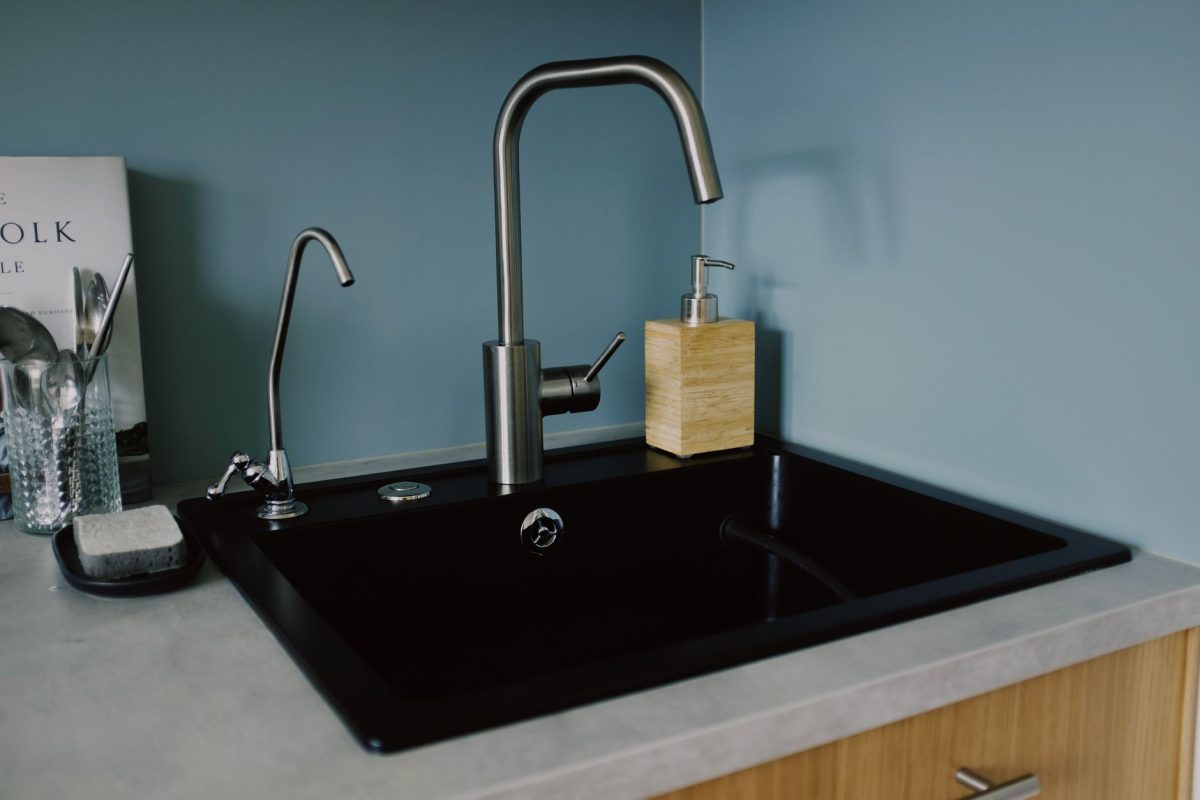
Counter-mounted purifiers are fine for a rented flat, but if you own your kitchen, an under counter reverse osmosis setup is almost always the better call. It hides the plumbing, the pre-filters, and the noise inside the cabinet, and it delivers water through a slim faucet you mount beside the tap. No bulky unit eating your counter space, no dangling tubes.
On my own setup, moving the unit under the sink also made filter changes cleaner, I keep a shallow tray under it to catch drips, and everything lives out of sight. The trade-off is a one-time drilling job for the faucet and drain line. If your borewell also feeds the whole house with hardness or sediment issues, an under-sink RO handles drinking water while a separate whole-house filter for well and borewell homes protects your pipes and appliances.
How many stages of RO do you actually need?
Marketing loves big stage counts, “12-stage purification!”, but stages are only useful if each one does a real job. More stages mean more filters to replace, so don’t chase the number for its own sake. Here’s what the common stages actually do.
- Sediment pre-filter: traps sand, silt, and rust, essential for borewell water.
- Carbon (pre) filter: removes chlorine and organics that would otherwise damage the RO membrane.
- RO membrane: the heart of the system; strips out dissolved salts, heavy metals, and most contaminants.
- Post-carbon / polishing filter: improves taste and smell of the final water.
- UV lamp (optional): useful if your source can carry bacteria, e.g. an open well or a suspect tank.
- Mineraliser / alkaliser (optional): adds back a little calcium and magnesium for taste.
For most borewell homes, a solid 4-to-6 stage unit, sediment, carbon, RO, and a polishing filter, plus UV if bacteria is a risk, covers everything you need. Anything beyond that is usually splitting the same job into more cartridges you’ll pay to replace.
Tip: Don’t add a mineraliser stage if your borewell water is already hard. In my experience, layering “added minerals” on top of high-TDS input just makes the water taste chalky. Get a lab TDS reading first, then decide.
Tankless vs tank-based: is a tankless RO better?
This is the question I get asked most. A tank-based RO fills a small pressurised storage tank so water is ready instantly. A tankless RO uses a higher-output membrane and produces water on demand, so nothing sits stored. Both have a place.
Tankless RO, the case for it
Tankless units give you fresher water (nothing sitting in a bladder tank for hours), reclaim the cabinet space a tank hogs, and often run a better waste ratio. The catch: they need steady electricity and decent line pressure, and they cost more up front. If your area has frequent power cuts, a tankless unit stops producing the moment the power does.
Tank-based RO, the case for it
A tank-based system is cheaper, and because it stores a few litres, you still get water during a short power cut. The downsides are the space the tank takes and the slight “flat” taste water can pick up after sitting. For many Indian homes with unreliable power, that stored buffer is genuinely reassuring.
Top under-sink RO systems to shortlist
Rather than name one “winner,” here are the categories of drinking water RO units worth shortlisting, with the kind of buyer each suits. Prices are rough street ranges and shift often, so treat them as ballpark, not gospel.
| Type of unit | Typical stages | Rough price (unit) | Best for |
|---|---|---|---|
| Budget tank-based RO | 5-6 (RO + UV) | ₹8,000, ₹14,000 | Municipal or moderate-TDS borewell water; power-cut-prone areas |
| Mid-range tank-based RO+UV+UF | 6-8 | ₹14,000, ₹22,000 | Borewell homes wanting bacteria + salt removal with a storage buffer |
| Tankless / on-demand RO | 4-5 high-flow | ₹20,000, ₹35,000 | Steady-power homes wanting fresh water and cabinet space |
| High-recovery low-waste RO | 5-6 | ₹18,000, ₹30,000 | Water-conscious buyers; areas where reject water is a real concern |
My honest take from years of tinkering: pick the simplest unit that removes what your lab report flags, from a brand whose replacement filters you can actually buy locally. A cheaper unit with easy, affordable cartridges beats a premium box whose proprietary filters cost a fortune and take three weeks to arrive.
The specs that actually matter (and the ones that don’t)
When you compare point-of-use RO picks, ignore the buzzwords and focus on these five numbers.
- Rated TDS handling: the maximum input TDS the membrane is built for. Match this to your lab reading with headroom to spare.
- Recovery / waste ratio: how much drinkable water you get per litre of reject. Lower waste is better, and cheaper on a metered supply.
- Flow rate (LPH or GPD): how fast it makes water. A slow tankless unit is frustrating; a fast one keeps up with a busy kitchen.
- Filter life and cost: ask how often each cartridge and the membrane need changing, and what they cost. This is your real running cost.
- Storage capacity (tank models): a 6-8 litre effective tank suits most families of four.
Numbers that sound impressive but rarely change your life: exact “copper/alkaline” claims, stage counts above six, and app connectivity. They’re nice; they’re not why you buy. For the deeper question of what RO fixes versus what it doesn’t, our breakdown of water softener vs RO is worth a read before you spend.
How to install and set up your under-sink RO
You can hire a technician, but a competent DIYer can handle a basic under-sink install in an afternoon. Here’s the order I follow.
- Shut off the cold-water supply under the sink and open the tap to release pressure.
- Fit the feed-water adapter (T-connector) onto the cold line and attach the RO inlet tube.
- Mount the RO body and (if applicable) the tank inside the cabinet, keeping filters accessible for future changes.
- Drill and mount the dedicated RO faucet on the sink or countertop, then run the product-water tube to it.
- Attach the drain saddle to the waste pipe above the trap and connect the reject line.
- Open the supply slowly, check every joint for leaks, and let the first tank fill and drain completely before drinking.
- Flush the new membrane per the manual, usually the first full tank or two is discarded.
Warning: Never skip the first flush. New carbon filters shed fine dust, and the membrane ships with a preservative. Running and discarding the first couple of tanks protects both your health and the membrane. When I rushed this once, the water tasted of plastic for a week.
Running costs and maintenance
The purchase price is the small part. Over a few years, filters and the membrane cost more than the unit did. Here’s a realistic maintenance rhythm for a typical borewell home.
- Sediment + carbon pre-filters: every 6-12 months; roughly ₹600, ₹1,500 a set.
- RO membrane: every 2-3 years on decent water, sooner on very high TDS; roughly ₹1,200, ₹3,000.
- UV lamp (if fitted): yearly; roughly ₹500, ₹1,200.
- Annual service visit (optional): often ₹400, ₹800 if you’d rather not DIY.
All in, budget around ₹1,500, ₹5,000 a year depending on your water quality and how many stages you run. Harder, dirtier borewell water clogs pre-filters faster, so keep spares on hand during the monsoon when sediment spikes. Whatever contaminants you’re targeting, verify against India’s drinking-water standard, IS 10500 from the Bureau of Indian Standards, and check regional groundwater notes from the Central Ground Water Board.
Frequently Asked Questions
Which under-sink RO system is best?
There’s no single winner, the best unit is the one matched to your water. For power-cut-prone borewell homes, a mid-range tank-based RO+UV is a safe pick. For steady-power kitchens wanting fresh water, choose a tankless model. Always base the choice on a certified lab report, not the box’s claims.
How many stages of RO do I need?
For most borewell homes, four to six meaningful stages are plenty: sediment, carbon, the RO membrane, and a polishing filter, plus UV if bacteria is a risk. Higher stage counts usually just split the same work into more cartridges you’ll pay to replace, without meaningfully cleaner water.
Is a tankless RO better than tank-based?
Tankless RO gives fresher water and saves cabinet space, but needs reliable power and pressure and costs more. Tank-based units are cheaper and keep water flowing during short outages. If your area has frequent power cuts, a tank-based system is often the more practical choice despite the extra bulk.
Does an under-sink RO waste a lot of water?
Budget units can waste three to four litres for every litre purified. Efficient high-recovery models cut that to roughly one to one. You can also route the reject line to a bucket for mopping or plants, though don’t use it on salt-sensitive crops if your input TDS is high.
Do I still need to test my water if I have an RO?
Yes. RO removes a lot, but you should confirm your source water and the treated output at a certified lab, especially for a new borewell or after monsoon. Testing tells you whether your membrane is doing its job and whether you need extra treatment such as UV for bacteria.
So, where does that leave you?
A good under-sink RO is one of the best upgrades a well or borewell home can make, quiet, tidy, and genuinely effective when it’s matched to your actual water. Skip the stage-count arms race, get a lab report, weigh tankless against tank-based for your power situation, and budget for filters as much as the unit itself. Do that, and you’ll have clean drinking water for years without the buyer’s remorse. When you’re ready to fit RO into your whole-home plan, our guide to choosing the right water treatment system and our plain-English home water treatment FAQ will help you make the call with confidence.