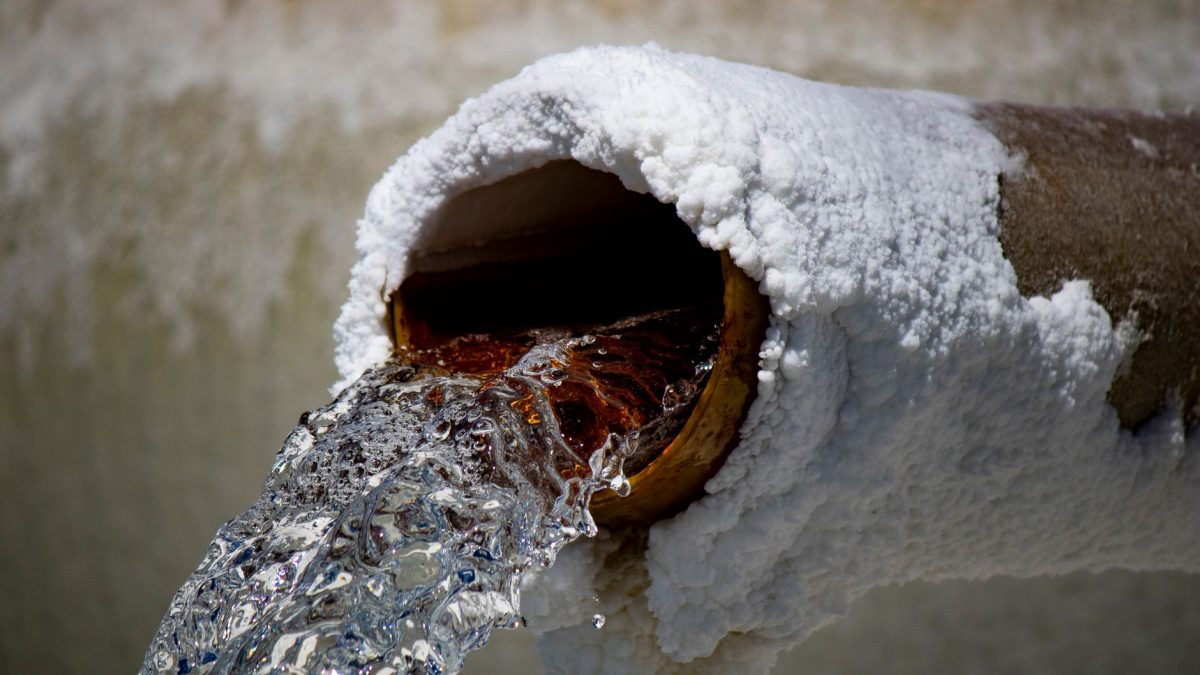
You start the pump, open the tap, and out comes a burst of gritty, tea-coloured water that settles into a fine sludge at the bottom of the bucket. If that sounds like your borewell after every start, a whole-house sediment filter is the single cheapest fix that actually works. After 15 years running my own borewell, pump and overhead-tank setup, I have fitted and replaced more of these than I can count. This guide walks you through exactly how to install a sediment filter yourself, step by step, so you stop chasing muddy water and start trusting your tap again.
I will cover picking the right micron rating, where the filter goes in the line, the tools you need, and the exact plumbing order I follow so there are no leaks and no nasty surprises the first time you flip the pump back on.
Key Takeaways
- Fit the sediment filter first in line, right after the pump or main inlet, before any softener, RO or fine filter.
- For most borewell homes a 20-micron spin-down plus a 5-micron cartridge covers sand, silt and cloudiness well.
- Budget roughly ₹1,200, ₹4,500 for a decent whole-house sediment housing, bracket and first cartridge in India.
- Most installs are a 1-2 hour DIY job with basic tools, just shut off the supply and dry-fit everything before you glue or tighten.
- Always leave a bypass or union so you can service the filter without cutting the pipe again.
What a sediment filter does (and what it does not)

A sediment filter is a mechanical strainer. It catches physical particles, sand, silt, rust flakes, fine clay, as water passes through a pleated or spun cartridge, or a reusable mesh screen. Think of it as the bouncer at the door for your whole plumbing system.
What it does not do is remove dissolved contaminants. It will not soften hard water, kill bacteria, or take out iron that is dissolved rather than flaked. That is why it is a pre-filter for water, it protects the expensive equipment downstream (softener resin, RO membrane, taps and geysers) and does the heavy lifting so those finer stages last far longer.
If you are still deciding what your home actually needs, it is worth reading our complete guide to choosing the right water treatment system before you buy a single fitting. A sediment filter is almost always step one, but the rest of the chain depends on your test results.
Where should a sediment filter go in the line?
The sediment filter is the first treatment stage in the water path. On a typical borewell home the order is:
- Pump / main inlet from the borewell or municipal line
- Sediment filter (spin-down and/or cartridge)
- Softener or iron-removal unit (if you have one)
- RO / UV or point-of-use filters
- Taps, geyser and appliances
Put it as close to the entry point as you can reach comfortably, at chest height, on a wall where you can swing a filter-housing wrench without knuckle-scraping. On my setup it sits on the wall right beside the pressure tank, so I can watch the spin-down bowl fill with sand and flush it without a torch.
Tip: Leave at least 8-10 cm of clearance below the housing. Cartridge filters unscrew downward, and if you mount them too close to the floor or a shelf, you will not be able to drop the bowl to change the cartridge. I learned this the hard way and had to remount the whole bracket.
What micron sediment filter do I need?
Micron rating is just the size of particle the filter stops, a lower number catches finer particles. The trap most people fall into is buying the finest filter they can find, then wondering why flow drops to a trickle and the cartridge clogs in two weeks.
The smart approach is staged filtration: a coarse screen first, then a finer cartridge. Here is how the common ratings stack up for a home supply.
| Micron rating | Stops | Best for | Trade-off |
|---|---|---|---|
| 100-50 micron | Coarse sand, grit | Reusable spin-down as first stage | Passes fine silt and cloudiness |
| 20 micron | Fine sand, most silt | General borewell pre-filter | Slight haze may remain |
| 5 micron | Fine silt, rust flakes, cloudiness | Second stage before RO/softener | Clogs faster; needs coarse stage upstream |
| 1 micron | Very fine turbidity, some cysts | Polishing before drinking-water stage | Low flow; not for whole-house alone |
For most muddy-borewell homes, a 20-micron spin-down followed by a 5-micron cartridge is the sweet spot. The spin-down catches the heavy sand and can be flushed in seconds; the cartridge polishes out the finer haze. If your water is only lightly cloudy, a single 20-micron cartridge may be enough.
Picking ratings is one of the most common places people go wrong. If you want a broader sanity check before you spend, our roundup of common water filter and treatment mistakes to avoid covers the micron and sizing errors I see most often.
Tools and parts you will need
Gather everything before you shut off the water, so you are not standing in a puddle hunting for Teflon tape. For a standard whole house sediment filter install you will want:
- Sediment filter housing (10-inch Big Blue style for whole-house flow, or standard slim for smaller lines)
- Mounting bracket and wall screws with plugs
- Spin-down pre-filter (optional but recommended for sandy water)
- Cartridge in your chosen micron rating, plus a spare
- Two threaded connectors / unions to match your pipe size (usually ¾” or 1″)
- PTFE (Teflon) thread-seal tape
- Pipe wrench or adjustable spanner, and the filter housing wrench (usually supplied)
- Hacksaw or pipe cutter, and solvent cement if you are working in PVC/CPVC
- A bucket, rag, and a torch
How to install a sediment filter: step by step
This is the exact order I follow. Read all the way through once before you start, dry-fitting in your head saves cut pipes later. For a proper sediment cartridge setup, take it slow at the sealing stages.
- Switch off the pump and shut the main valve. Then open a downstream tap to drain the line and release pressure. Never cut into a pressurised pipe.
- Mark your spot. Pick a wall location right after the inlet, at chest height, with clearance below for the bowl. Hold the bracket up and mark the screw holes with a pencil.
- Mount the bracket. Drill, insert wall plugs, and screw the bracket firmly. A full filter housing is heavy when wet, do not trust a flimsy fixing.
- Cut the pipe and dry-fit. Measure where the housing inlet and outlet will sit, cut cleanly, and dry-fit the connectors and unions without tape or cement first. Check the arrow on the housing points in the direction of flow.
- Seal the threads. Wrap PTFE tape 4-6 times clockwise around each male thread. For PVC/CPVC joints, apply solvent cement per the tin’s instructions and hold for a few seconds.
- Fit the spin-down (if using). Install it just before the cartridge housing, flush valve pointing down over a drain or bucket.
- Insert the cartridge and hand-tighten the bowl. Seat the O-ring, drop in the cartridge, and screw the bowl on. Snug it with the wrench, firm, not gorilla-tight, or you will crack the housing.
- Open the main valve slowly. Crack it a quarter-turn and watch every joint for weeping. Let the housing fill gradually to avoid a pressure hammer.
- Press the air-release button. Most housings have a small red button on top, press it to bleed trapped air until water spits out.
- Flush the first cartridge. Run the nearest tap for 5-10 minutes. New cartridges shed fibres and carbon dust, so let that clear before you trust the water.
Watch out: Do not over-tighten the housing bowl. The O-ring, not brute force, makes the seal. In my experience a hairline crack from an over-cranked bowl is the number-one cause of a slow drip that shows up a day later. A smear of silicone grease on the O-ring helps it seat and makes the next change easier.
Spin down filter fitting: the reusable option

If your borewell throws real sand, the kind that grinds in the tap aerators, a spin down filter fitting is worth its weight. Instead of a disposable cartridge, water spins through a stainless mesh screen inside a clear bowl; the sand drops to the bottom, and you flush it out by opening a valve. No cartridge to buy, no waste.
Fit it as the very first stage, ahead of the cartridge housing. The clear bowl is genuinely useful, you can see at a glance how fast sand is accumulating. On my line I open the flush valve for a few seconds every couple of weeks during monsoon, when the borewell runs dirtiest.
Maintenance: keeping it working
A sediment filter is only as good as its upkeep. A clogged cartridge chokes your flow and can starve appliances downstream. Here is the rhythm I keep:
- Watch the pressure/flow. A noticeable drop at the taps usually means the cartridge is loaded and due for a change.
- Change cartridges roughly every 2-3 months on dirty water, or up to 6 months on cleaner supply. There is no fixed rule, your eyes and flow tell the truth.
- Flush the spin-down every 1-2 weeks, more often after heavy rain.
- Sanitise the housing when you change cartridges, a quick rinse with a mild chlorine solution keeps slime and biofilm from building up.
Remember that a sediment filter improves clarity, not safety. It does nothing for bacteria or dissolved chemicals. If your water has ever tested unsafe, or if you have just cleaned or repaired the well, follow a proper disinfection routine, our guide on how to shock chlorinate and disinfect your well safely walks through it. And before you assume filtration alone has made your water drinkable, confirm with a certified lab; a sediment filter is a comfort upgrade, not a health guarantee. For a full pre-purchase run-through, the home water treatment buying checklist is a handy printable.
For general background on private-well care and safe drinking water, the US EPA private wells resource and India’s Central Ground Water Board are solid, non-commercial starting points.
Frequently Asked Questions
Where should a sediment filter go in the line?
It goes first, right after your pump or main inlet and before any softener, RO or UV stage. Mounting it at the entry point protects every piece of equipment downstream. Fit it at chest height with clearance below the bowl so you can drop the housing to change cartridges.
What micron sediment filter do I need?
For most borewell homes, a 20-micron stage followed by a 5-micron cartridge works well. The coarse stage catches sand; the finer one polishes out haze. Avoid jumping straight to 1 micron alone, it clogs fast and chokes your flow without a coarser filter upstream.
Can I install a sediment filter myself?
Yes, most whole-house sediment filters are a 1-2 hour DIY job with basic tools. Shut off the water, drain the line, mount the bracket, seal your threads with PTFE tape, and dry-fit before you glue or tighten. If you are cutting into buried or high-pressure mains, call a plumber.
How often should I change the sediment cartridge?
There is no fixed interval, it depends on how dirty your water is. On heavily silted borewell water, expect every 2-3 months; on cleaner supply, up to 6 months. The real signal is flow: when pressure at the taps drops noticeably, the cartridge is loaded and due.
Does a sediment filter make my water safe to drink?
No. A sediment filter only removes physical particles like sand and silt. It does not kill bacteria or remove dissolved contaminants such as fluoride, nitrate or dissolved iron. Treat it as a first stage, and confirm drinking-water safety with a certified lab test rather than relying on clarity alone.
So, where does that leave you?
A sediment filter is the highest-value, lowest-cost upgrade most well and tank owners can make. Get the placement right (first in line), stage your micron ratings sensibly, seal your joints properly, and flush that first cartridge, and you will wonder why you put up with muddy buckets for so long. It is genuinely a job you can do in an afternoon.
If you are building out your whole treatment chain and want to make sure each stage earns its place, take a look at our full guide to choosing the right water treatment system for your home, the sediment filter you just fitted is the foundation everything else sits on.